I could have got the van through its MOT in about one week – take the tree off the dashboard, get new tyre and replace a bulbs – that’s not a problem.
But I wanted/needed to give the van a good service and overhaul. I want to do as much as I can to make sure the van will last, because an MOT just ensures basic safetyness.
So here are some of the things I did:
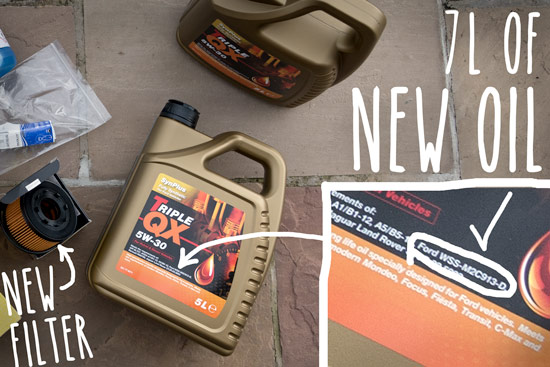
Changed oil and filter
I changed the oil last in Greece but I used really cheap oil (which seemed to make the engine make a new noise). This time I used the approved oil for these Duratorque engines. I got fully synthetic so it should last a good a while longer. You can see my oil change post from Greece here
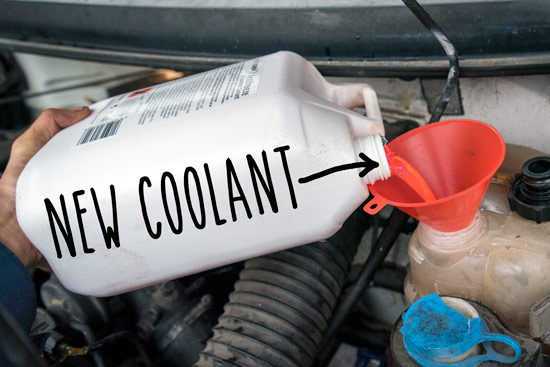
Changed coolant
Over 18 months I topped this up a good few times with normal tap water. I drained the lot and replaced with the LDV recommended OAT coolant which should last 5 years compared to the usual blue stuff that should be replaced every 2 years. See post on Changing the engine coolant
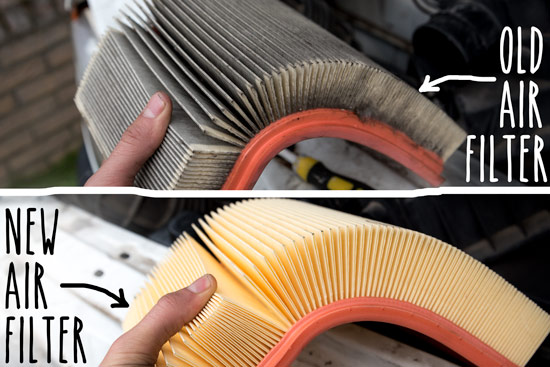
Changed air filter
I’ve been through a lot of sand, dust and dirt. It’s worth changing the air filter for a few quid, I think.
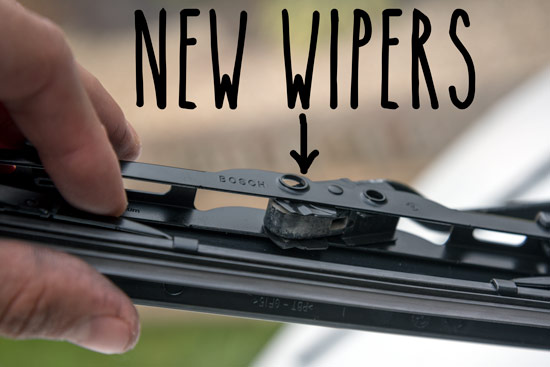
New wipers
My wipers broke a year ago. I’d usually just stop driving if it rained. It’s good to have working wipers though
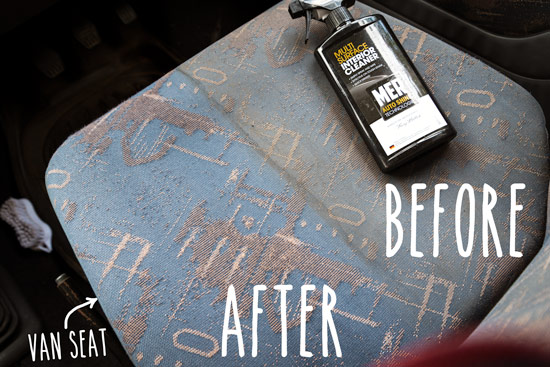
Major cleaning
All these hitchhikers, festivals and hippies. Look how dirty this seat was. Actually, I don’t think the seats have ever been cleaned. Oh and the cleaner shown in the photo is really good. I quite like the effect…
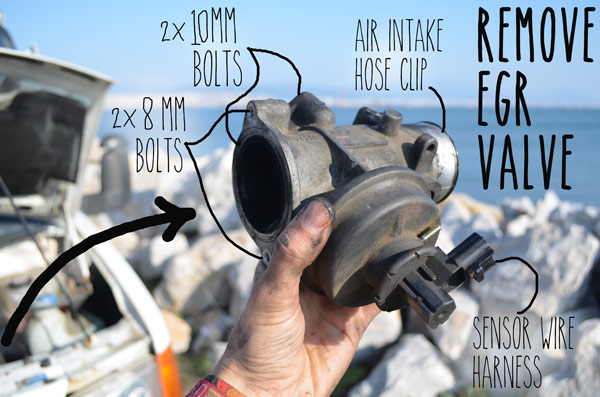
Removed and cleaned EGR valve
I did this last year as well in Greece when I was having some black smoke trouble – see this post
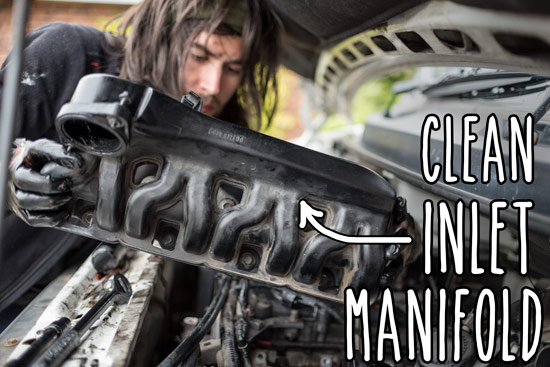
Removed and cleaned air inlet manfold
I noticed the sludge much in the EGR was also in the manifold – restricting the volume of the first two ports significantly. Restricted air flow can lead to improper burning of the diesel (black smoke) and obviously less miles per gallon.
New tyres
I got two new tyres for the front (MOT fail on one). These have lasted ages considering they were already quite worn when I got the van. The 4 tyres at the rear have loads of miles left in them (not even half worn) and they’ve done over 10k miles – and I got them second hand.
removed rust
See post: 17 things I’ve learnt about rust and trying to stop it
removed more rust
I still feel like I could have spent longer removing rust but I’ve realised that It will always be there. I just have to tend to it and keep on top of it this time.

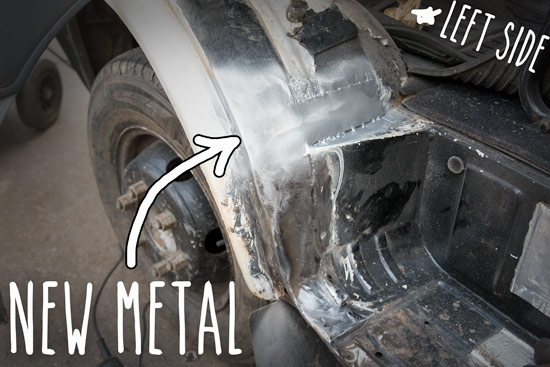
Welding
My friend Matt fixed the worst of the rust (wheel arches) with new metal. There are still other little bits that could be welded but It’ll be done another time. See post on welding the van – fixing wheel arch rust
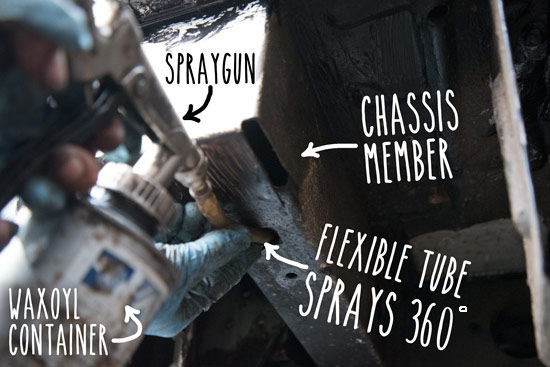
Waxoyled
I was able to borrow a compressor and a gun. I waxoyled inside all chassis members, Inside all internal box sections, bottom of doors and a few other little places. See post on Waxoyling the van with compressor and gun
Fibreglassing, filling, sanding
This is probably the most time consuming thing, including preparing the area. It’s even more time consuming when it’s this cold and it’s nearly impossible when it starts raining.
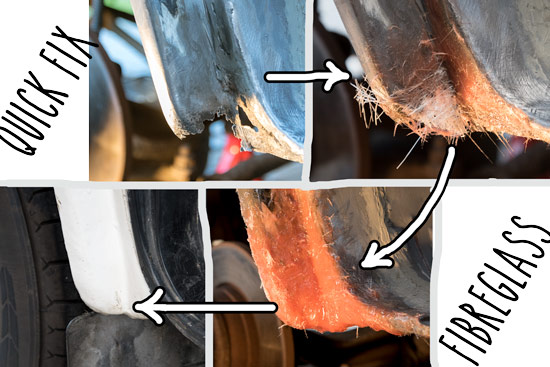
Other little fixes with fibreglass
It’s not really worth doing anything but fibreglassing on these little bits. There were a few things like this. The image below shows the bottom tip of the left wheel arch.
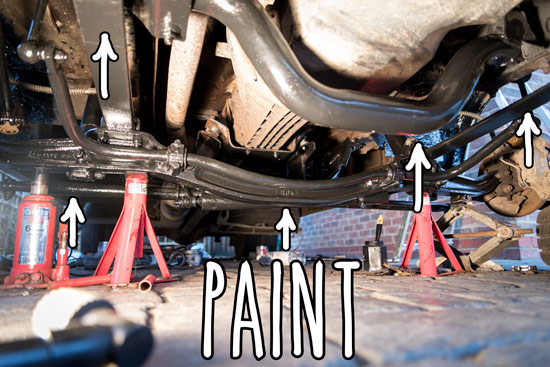
Painting
I painted a lot of parts underneath (the floor was already done) – front axle, anti roll bar, leaf springs, rear axle and hubs, prop shaft mount – the bits were were unprotected and rusting. Also topped up parts that needed it. This is also really time consuming mainly due to preparation, waiting for things to dry, rain, cold, crawling under the van etc. This stuff is really a summer job.
Checked integrity of existing undersealer and paint
I checked the whole of the underneath for failed spots of undersealer/paint and patched up as necessary. It was mainly on rough bits, corners and edges where it had cracked and peeled.
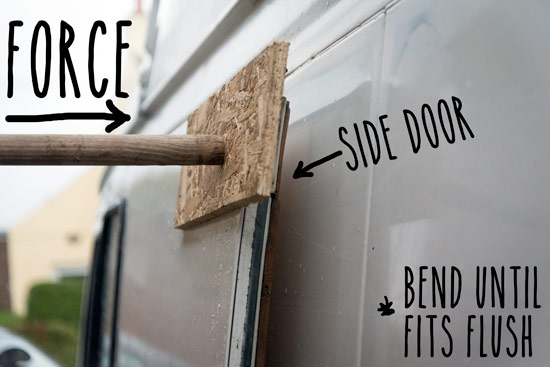
Fixed side door – wouldn’t fit flush against van body
This has puzzled me for a long time. The side door just doesn’t seem to fit the body properly no matter how much I adjusted it. The door would leak in heavyrain because the top seal was not pressed against the frame. Someone said on this blog (a while ago now) that in the LDV factory they would bend the doors to make them fit. Whether he was joking or not I don’t know, but I bent mine and now it fits! Thanks for the idea. I used a scissor jack, a stick and a few sharp jerks.
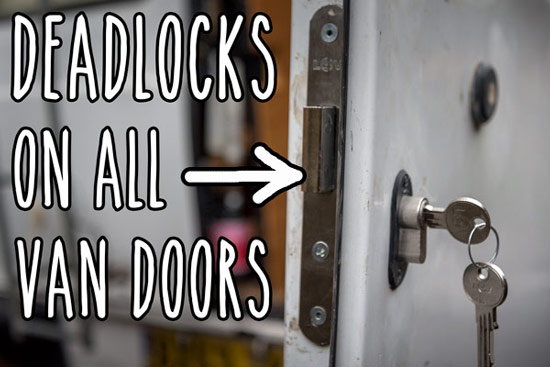
Fitted deadlocks to all doors
Deadlocks not dreadlocks. See post on Fitting extar locks to van doors for extra security
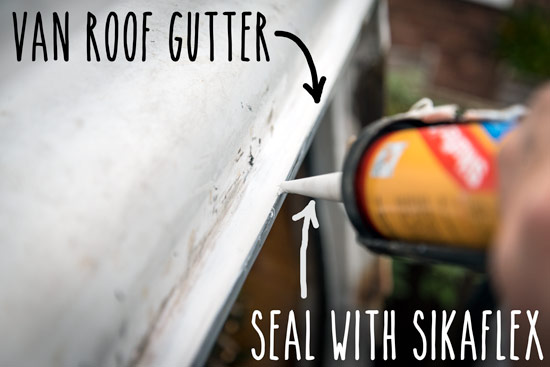
Resealed guttering around the roof
I removed all the old (and cracked) sealant from around the gutter, where the roof meets the side walls of the van, and put new sealant in. I used a weatherproof sikaflex sealant/adhesive that should be good for a few years.
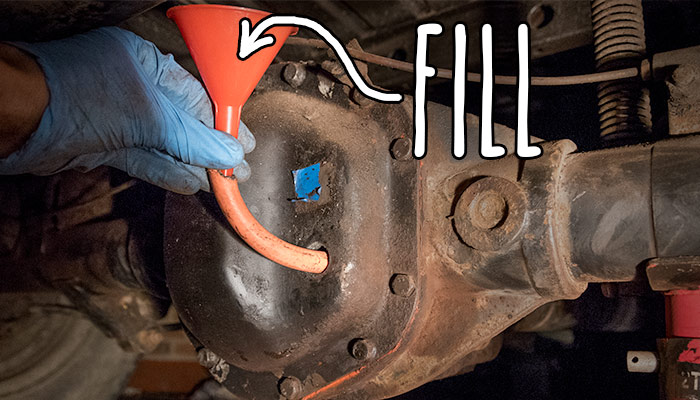
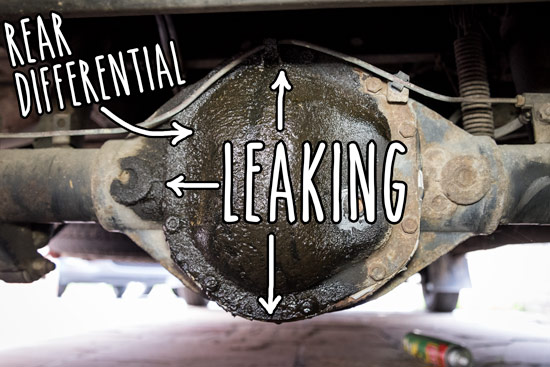
Fixed rear differential leak and changed oil
The rear diff has been leaking ever since I got the van but it has got worse. I removed the rear cover, cleaned it up and used RTV silicone to make a new gasket. I replaced with the proper GL-5 gear oil. See post on Fixing rear differential leak and the separate post on Filling the rear differential oil
And now I’m back on the road. It’s all worth it 🙂
Thanks for putting up with the slow blog (and my slow replies) over this past couple of months.