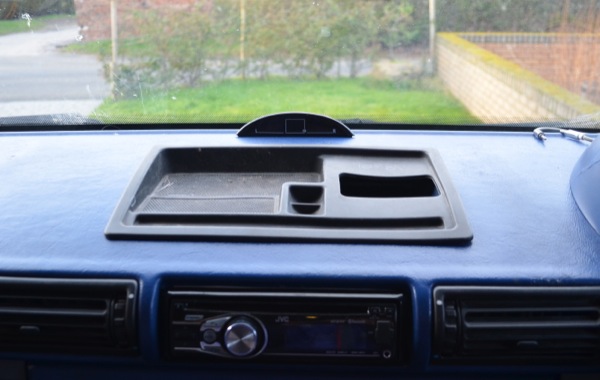
 Going straight from driving a little VW Golf to a big van with no back windows is pretty scary when it comes to parking up in towns and cities. I decided I either need a reversing camera or some kind of parking sensor. The latter was probably the cheaper and more practical of the options – I didn’t want to have to hide a TFT screen every time I leave it parked where as a cheap little LED indicator could be fixed permanently on the dash with no worry.
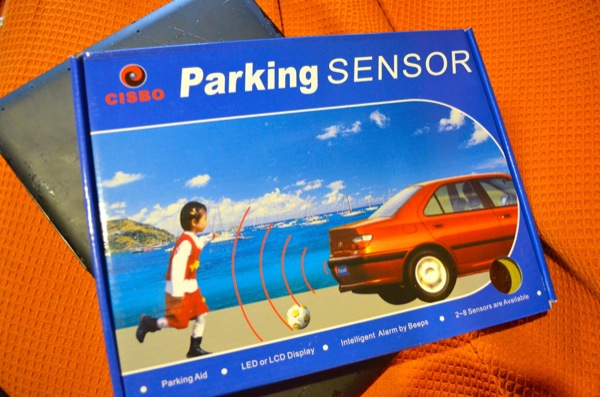
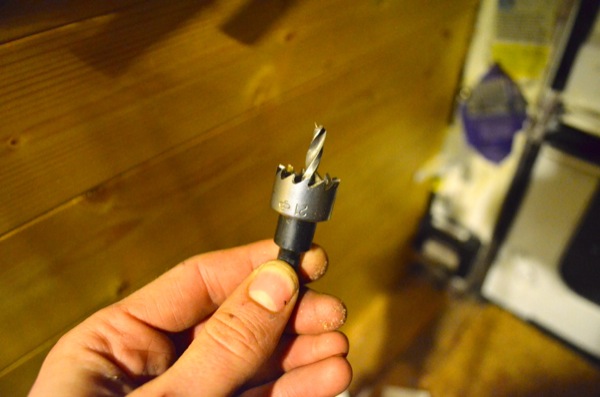
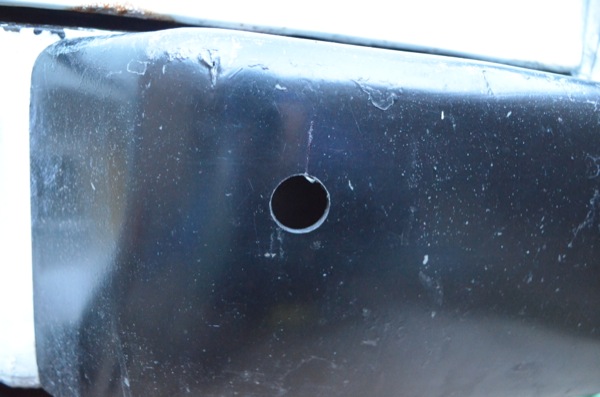
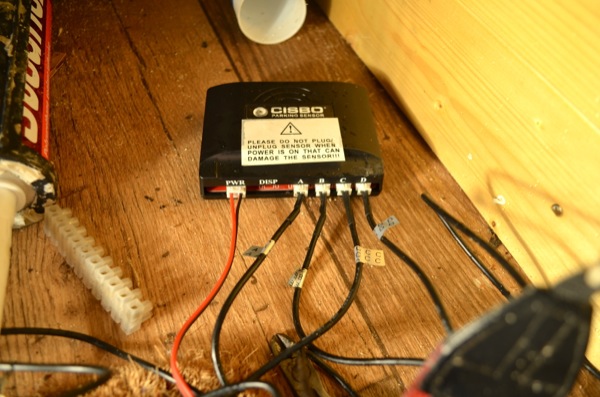
I payed about a tenner more (total £24.99) for a this wireless parking sensor![]() because I really couldn’t be bothered to run in another wire from front to back.
because I really couldn’t be bothered to run in another wire from front to back.


Quick summary
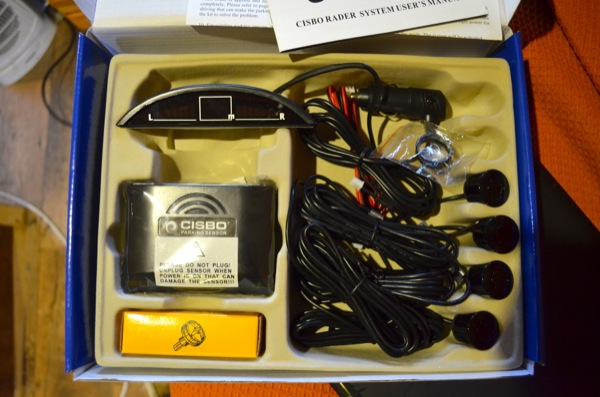
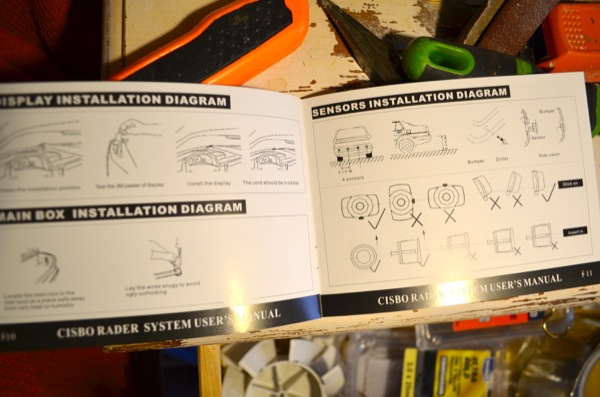
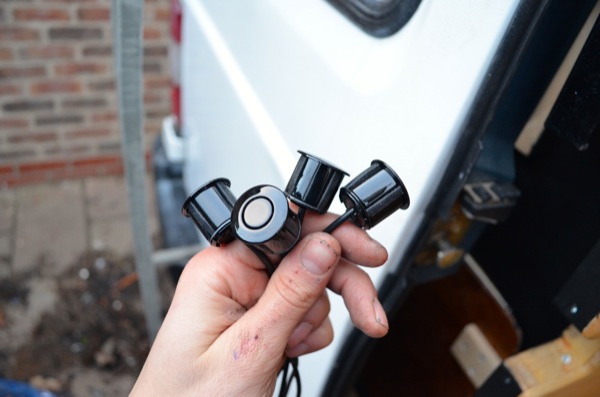
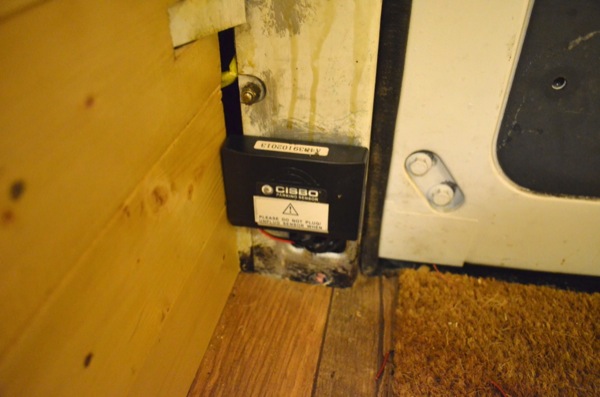
A really decent parking sensor for just over 20 quid! This took about 90mins to install out of the box. The only thing I don’t like is the design/quality of the header connectors on the sensor PCB but thats just me being a bit of a design snob. I did notice the performance can be slightly erratic in the rain and when bushes are blowing about but nothing to worry about. Overall , this thing works well though and definitely worth the extra few quid for wireless.