I managed to borrow a compressor and was finally able to properly get to all those internal areas. In this post I’ll go over how and where I waxoyled the van.
First I’ll quickly mention a thing about the gun and the compressor…
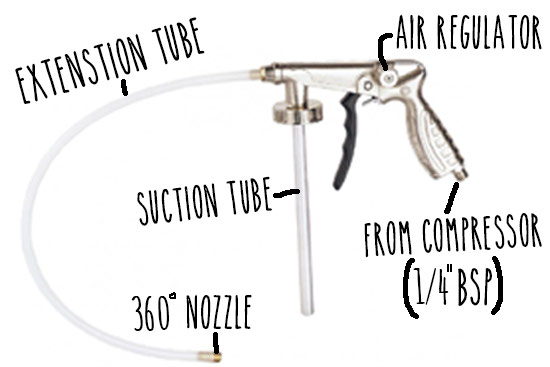
The Shutz gun
This gun has a screw thread that is designed to fit onto many popular undersealing products – except, for some reason, Waxoyl. I emptied out a tetrashutz tin and used that.
The gun works by sucking up the waxoyl (or whatever) from the container as the compressed air moves through the top of the gun – the Venturi effect. These are also called Siphon guns, as opposed the gravity fed spray guns that have the reservoir at the top of the gun.
To connect the gun to the compressor I needed to buy a coupler (£1.50) that goes from the 1.4” BSP male thread (on the gun) to a female push fit connector on the end of the compressor hose.
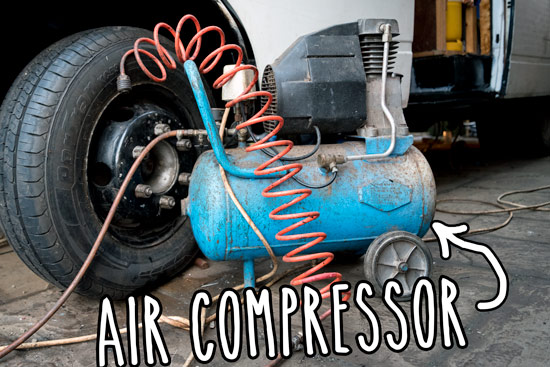
The compressor
I don’t know much about compressors. This was my first time using one. All I know is that the maximum value on the dial was about 115psi (about 8 bar) which is more than enough for this job – I know because I tested it out and it got incredibly messy.
I found the best pressure to be around 80psi. But this will change depending on the temperature.
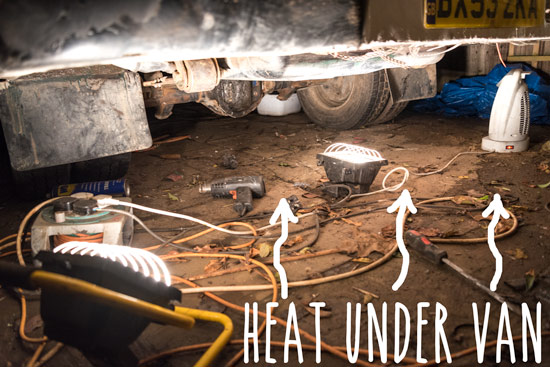
Getting some heat under the van (It’s winter)
Winter is not when waxoyl should be applied, but I had no choice. I did my best to get everything dry and warm before applying the waxoyl. I put 2 floodlights and one blow heater under the van 30 minutes prior to waxoyling and kept these on under van throughout.
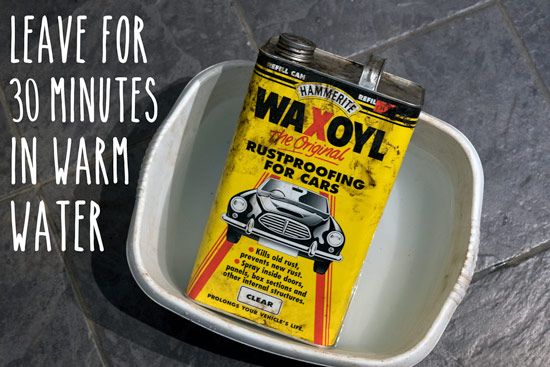
And heat up the waxoyl
The waxoyl must be heated up if spraying otherwise it will not properly atomise and coverage will be bad…. that is before gun gets blocked. I added a tiny bit of white spirit (about 5%) to thin it even more because it was only a few degrees C outside and spraying got difficult as the waxoyl cooled down.
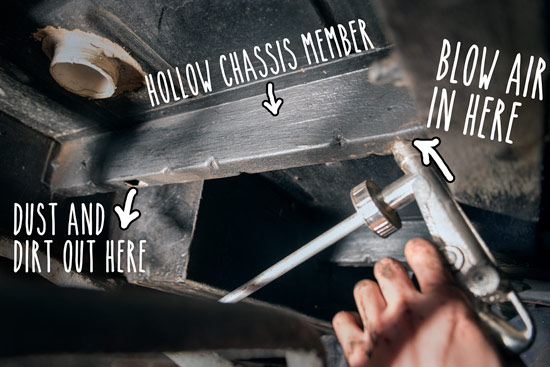
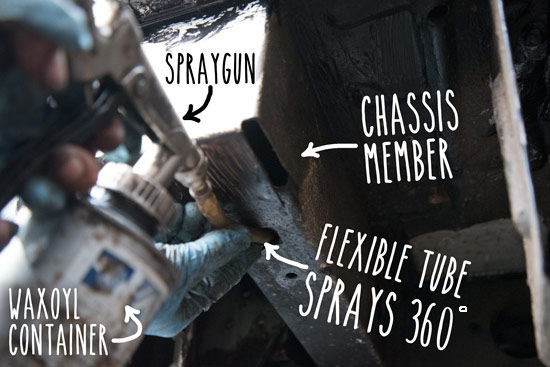
Inside the chassis members and internal box sections
Before I waxoyled inside the chassis members I set the compressor to maximum and sprayed out any dust and crap. It was all quite clean in here, otherwise I would have had to power wash it and wait weeks for it to dry.
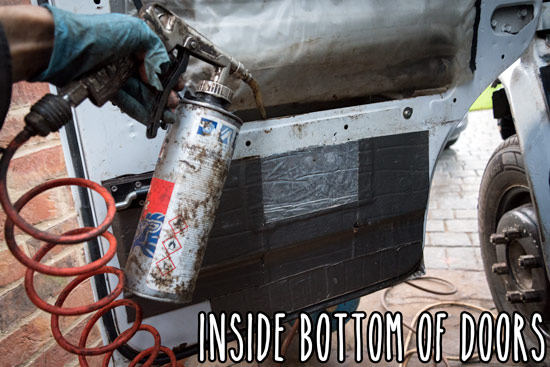
Inside doors
I focused mainly on the inside bottom of the doors where water may collect
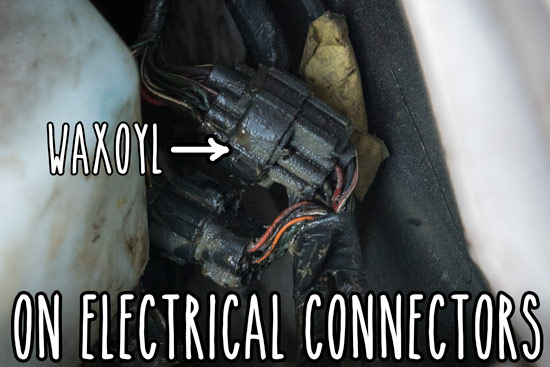
Electrical connectors
Waxoyl should help stop water getting in to connectors and terminals, causing corrosion. I also put some on the battery terminals and the main chassis ground connection.
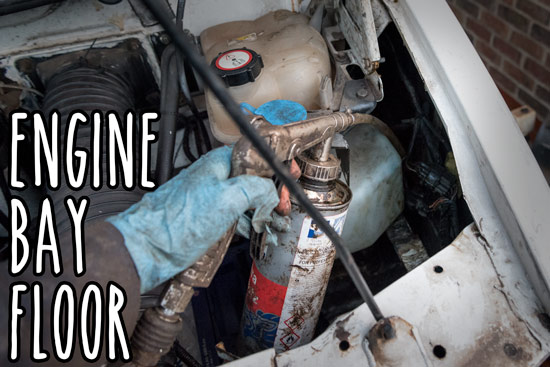
floor of engine bay
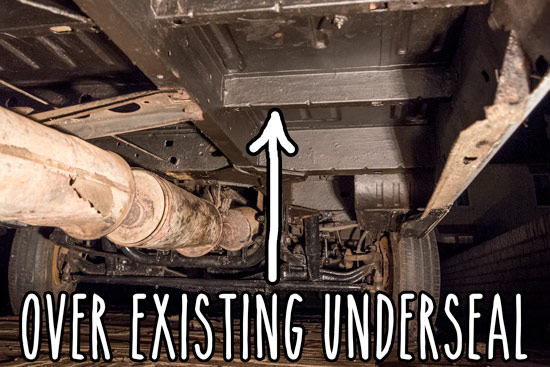
Over the top of existing undersealer
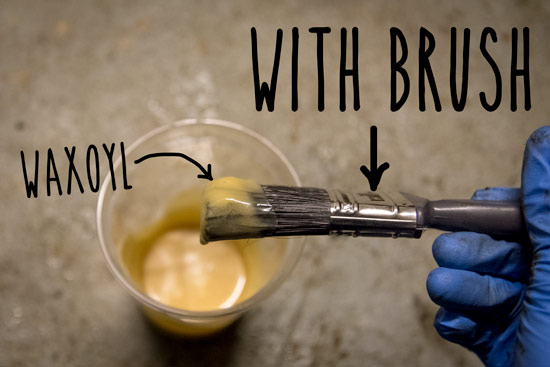
I also used a brush
There were many external areas that were just easier to get to with a brush
Problems
Because it was so cold, I’d have to periodically heat up the container of waxoyl to stop it getting too thick. The halogen lamp works well to keep the container of waxoyl warm. But remember that it will ignite if splashed onto the hot lamp – I did it.

Another thing: when you block the end of the gun’s nozzle the air pressure will go down the suction tube and into the container. The container will pressurise (and probably burst if above 90PSI) and waxoyl will spurt out a small release hole in the spray gun screw cap. It went higher than the van and even got on my solar panels. The best way round this is to just be careful not to get a kink in the extension hose (the plastic is very soft) and also not to screw the container on tightly so it can no pressurise to the point of bursting.