function updateHeaderHeight() {
        // Get the height of #brx-header
        const headerHeight = document.querySelector('#brx-header').offsetHeight;
          
        // Store the height in the CSS custom property --header-height
        document.documentElement.style.setProperty('--brxw-header-height', headerHeight + 'px');
    }

    // Execute the function as soon as the document is ready
    document.addEventListener('DOMContentLoaded', function() {
        updateHeaderHeight();  // Initial update of header height when the document is ready

        // Update the header height on window resize and orientation change
        window.addEventListener('resize', updateHeaderHeight);
        window.addEventListener('orientationchange', updateHeaderHeight);
});

Making the kitchen cupboards

i-will-make-anything

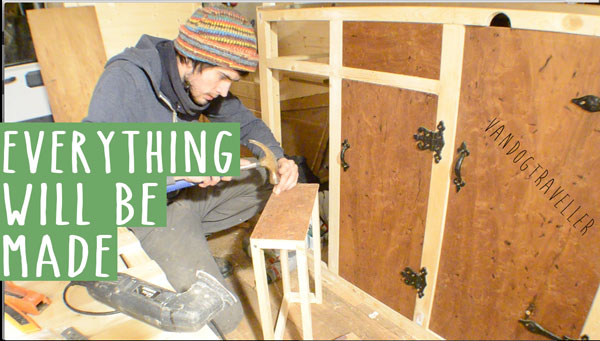
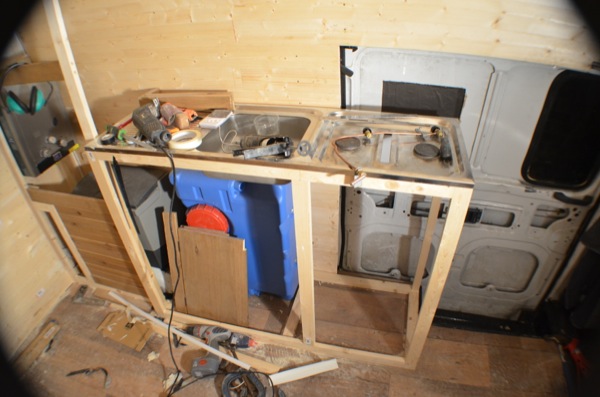
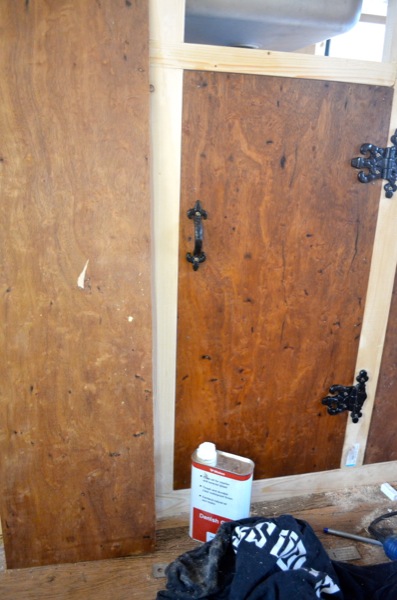
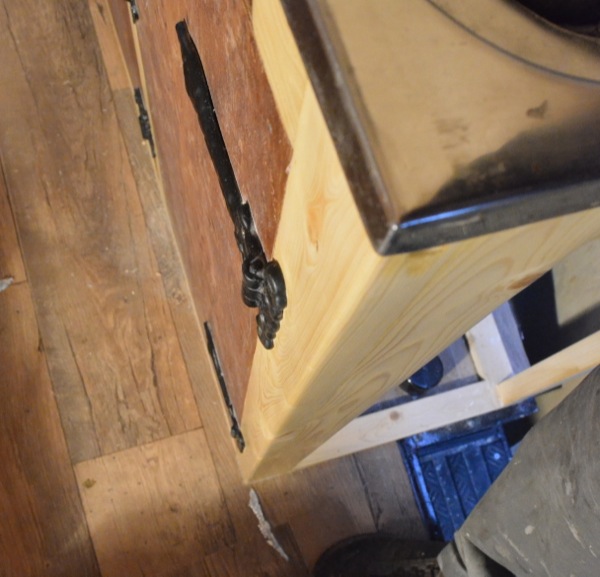
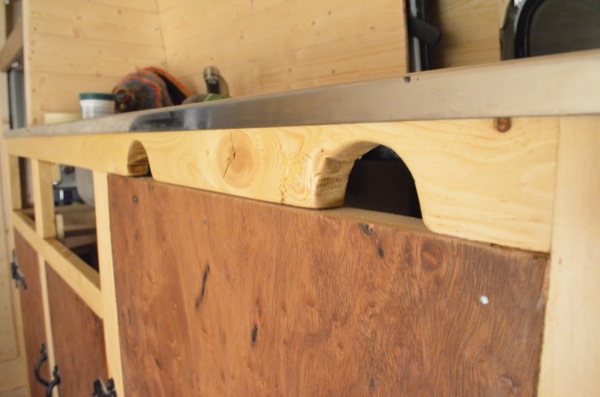
I found this nice hardwood ply and I HAD to find a use for it so I made the cupboards and draw for the kitchen unit. I didn’t really want the normal camper van look with loads of laminate material and boring hardware so here is what I did whilst keeping things as simple and cheap as possible. Matt did the frame for this to fit the sink/hob to whilst I worked on the other things.

kitchen-sink-hob
Matt did a neat job the frame to fit the sink and hob unit (from caravan)
3.6mm-hard-topped-plywood
I’ll make the cupboards out of this 6mm hardwood topped plywood
simple-cupboard-door
I tacked and glued the ply to a frame made from 18 x 22 pine
danish-oil-on-plywood
look at the difference with one coat of Danish oil. Nice! i’m gonna put it on EVERYTHING
magnetic-catch
Magnetic catch at top and bottom
diy-draw
I made this draw. Its pretty simple but its nice and sturdy. It will have sides and bottom in using 3mm ply
diy-draw-staples
I tried a new technique; glueing and stapling. Good for when screws are overkill and hammering nails might weaken or break the structure.
campervan-kitchen
I call this style ‘flat antique’ I’m really happy with the result. The is really white though so I sanded and finish with a coloured Briwax I found under the sink (another sink)…
briwax
I thought I’d give this stuff a go…
applying-briwax
I sanded with 320 grade paper then rubbed on small amounts of the Briwax. It really brings the grain out but any more than 2 coats doesn’t seem to make much difference.
corner-kitchen-unit
This Briwax can really bring out the scratches! I used 100 grade sandpaper to finish this corner. I had to spend a long time getting all those scratches out. I worked my way up from 120 grade to 320 and then 400.
holes-for-gas-taps
I cut out these holes for the gas cooker taps.

What did I learn this time?

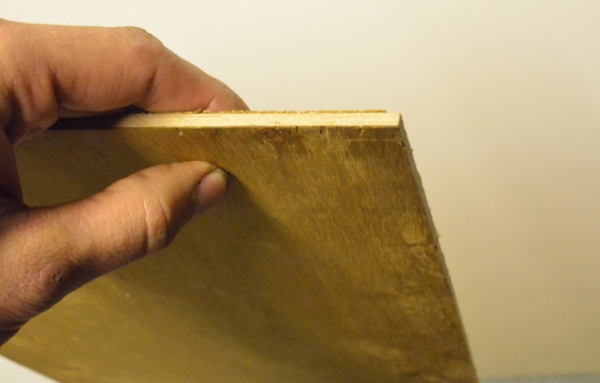
  • using wirewool on bare pine is the worst. The bits get stuck in the grain and rust. I sanded it all and started again.
  • using a fine grade sandpaper doesn’t may make the wood feel super smooth but scratches can still be present and will show up as soon as any stain based product is applied (more so with oil based because it sinked further into the wood).
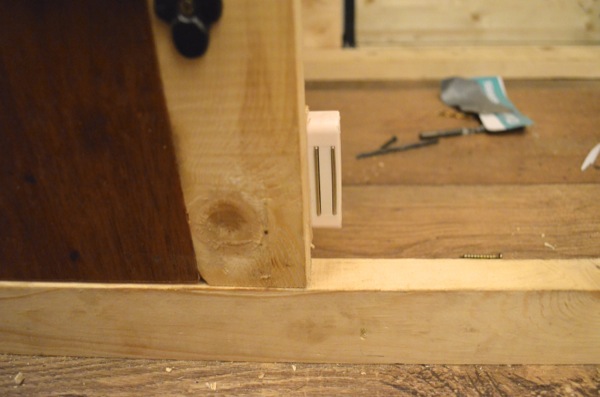
  • I wont make a draw from scratch again
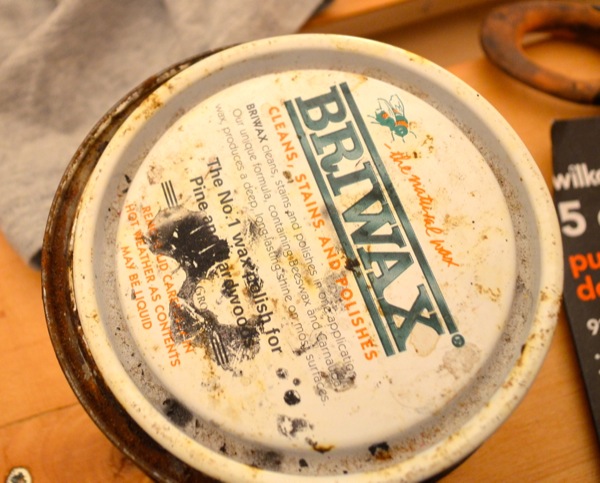
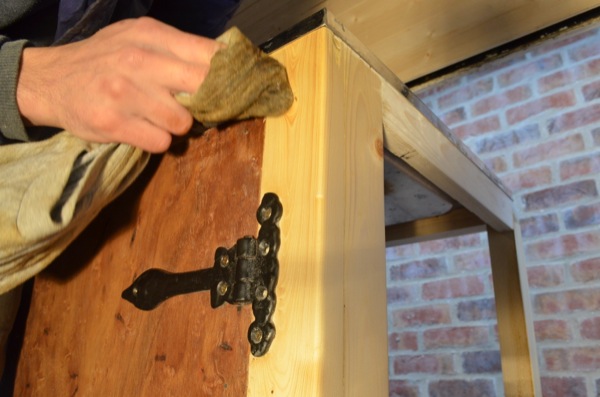
  • Danish oil is a great finish and drys like a hard varnish. Will use this again

I’ll use another post to show plumbing and gas stuff

Comment below
Subscribe
Notify of
guest
3 Comments
Most Voted
Newest Oldest
Inline Feedbacks
View all comments

VIDEO: Inside my DIY van-home – full tour

Read more >

Announcement: My Van Conversion Course is Now Live

Read more >

Breaking down in Morocco – I almost lost the van

Read more >