

After fitting the wooden frame for the cladding walls (see post), it’s time to fit the cladding. It is starting to look like a campervan now!
Note: updated on 15th May 2015
This took 20 packs of 8mm pine cladding in 1.8m lengths to clad the walls and ceiling. Cost was £96. I bought all the cladding from Wickes–a DIY chain in the UK.
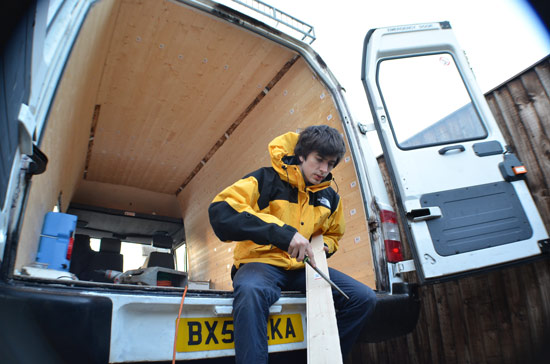
Matt came and helped me. We worked like mad for the full weekend (this was before I quit my job to finish the rest of the van a I had to be back at work on Monday). We finished cladding all of the walls and ceiling in two days. I went back later and cladded the corners in the ceiling and the side door.
1. Walls
I started at the bottom, screwing in each length of cladding before drilling (otherwise the wood can easily split) and counter sinking the hole to get the screw head to fit flush against the cladding surface. I used gold coloured screws so they don’t stand out as much as shiny silver ones.
It’s important to make sure that each piece of cladding is fully slotted into the one beneath it. I used a block of wood and a few gentle (the tongues and the grooves can split and break very easily) taps with a hammer.
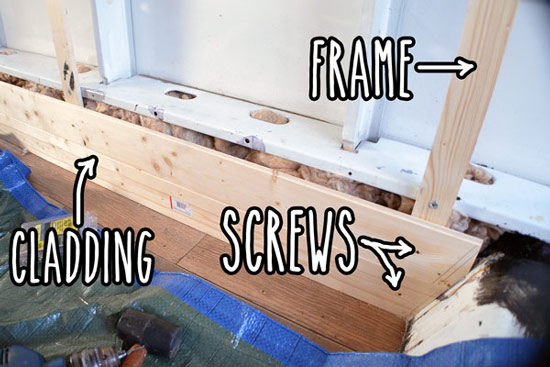
Also, the lengths of the cladding should be alternated so that the ends of each length don’t all fall on the same vertical line. This makes it a lot stronger and also looks better too.

2. Ceiling
Matt started the cladding in the centre of the ceiling so that the gap in the corners would be even–where the wall cladding meets the ceiling cladding.

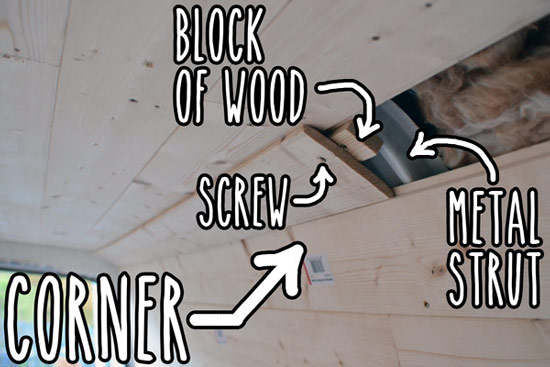
3. Corners
The cladding cannot be continued right into the corner so there has to be a corner piece that overlaps the wall and ceiling pieces. I cut off the tongue and groove for these corner pieces and rounded the edges so it’s just like a strip of wood. I fixed these pieces to wooden blocks that are screwed into the corner of the metal strut of the van roof.
Now see post on cladding the side door