


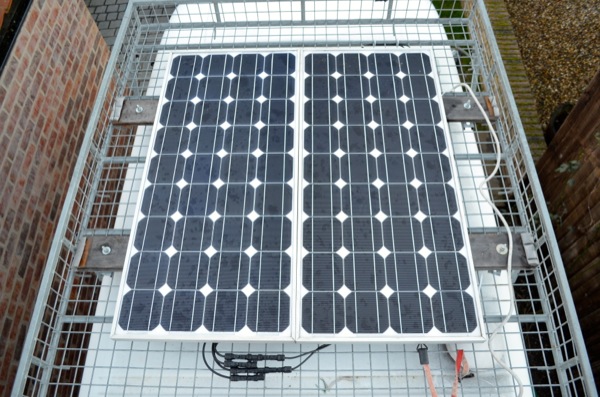
I was lucky to inherit two 100w solar panels with the van – they just need to be wired in.
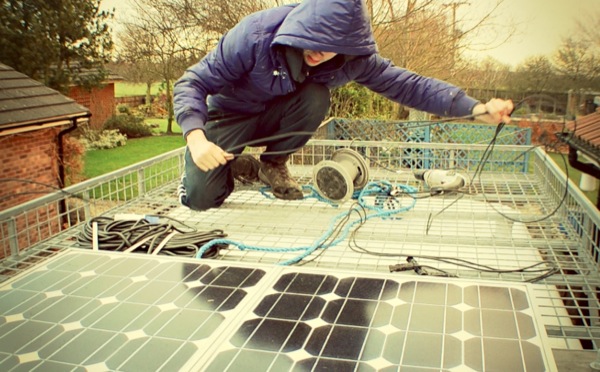
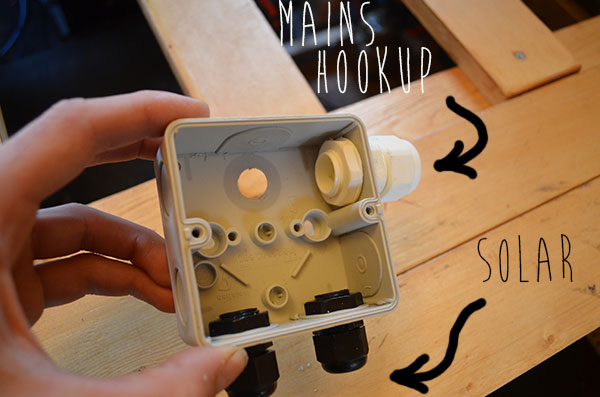
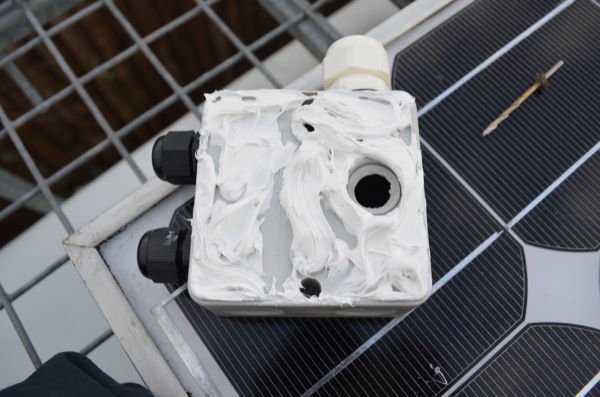
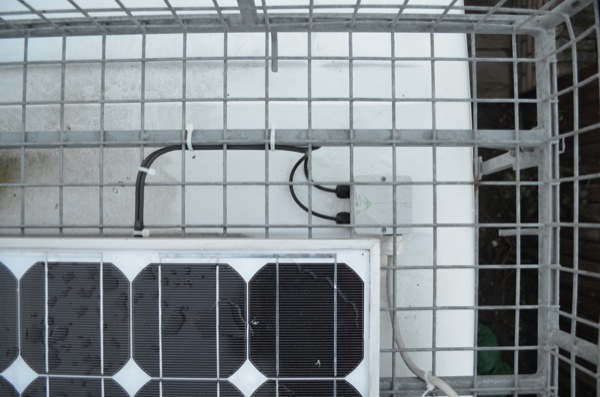
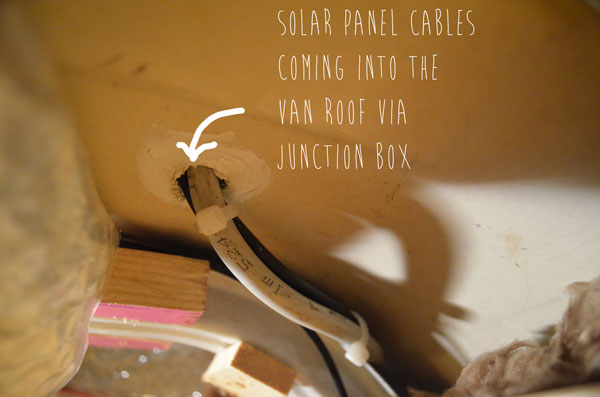
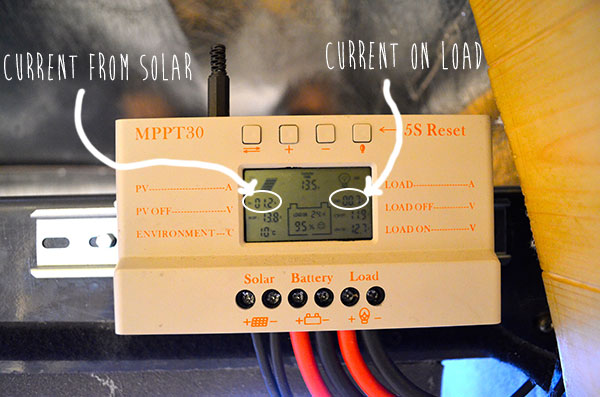
I used an external waterproof junction box mounted on the roof of the to take the panel cables into the van via compression glands and then into the MPPT solar controller charger (MPPT30 solar charger – bad choice in hindsight, see last section of this post).
For more about the electronics see the 12V electrics and wiring
A look at my solar panels
Like most things of this nature, I like to poke around for a while with a screwdriver and multimeter to see what’s what before I do anything else.
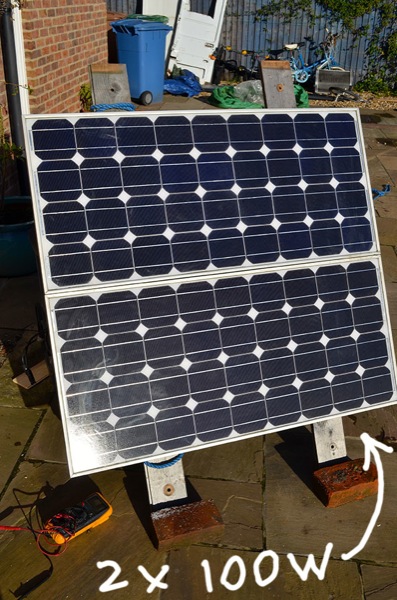
The panels came with no labels on them; no indication of min/max voltage or power ratings. I googled ‘mono-crystalline solar panel’ and the ones with 4 by 9 solar cells are 100W so its probably safe to say my panels are 100W each.
Back in November I checked that each panel was giving the same voltage – if they disagreed then it would probably indicate a dead cell somewhere but all seemed well. Despite some cells having visible hotspot damage (scroll down to photo), both panels gave the same voltage of 18V and a closed current of 4.33A so around 80W of power. Not bad for November, although it was a clear sunny day and the panels were directly pointing to the sun.
Installation and wiring
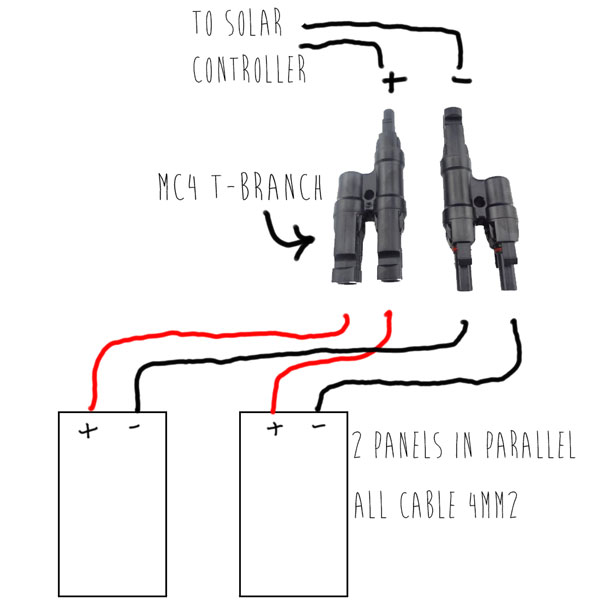
I wired the panels in parallel just because there is no point wiring in series (higher voltage) unless you have an MPPT controller with decent DC-DC converter. Maybe I will experiment with other configurations at some point in the future

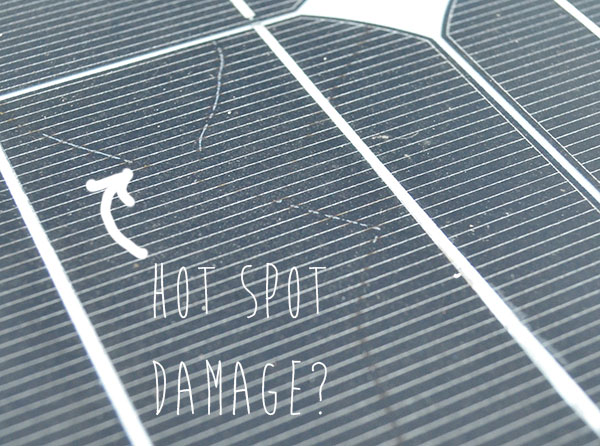
Solar panel damage- hot spots?
It took me a while of searching and asking on forums what these marks were on the solar cells. I’ve decided it must be hot spot damage from prolonged shadowing of a cell. The loss in power due to the shadowed cell will be dissipated across that cell causing hot spots and eventually burning the cell out.
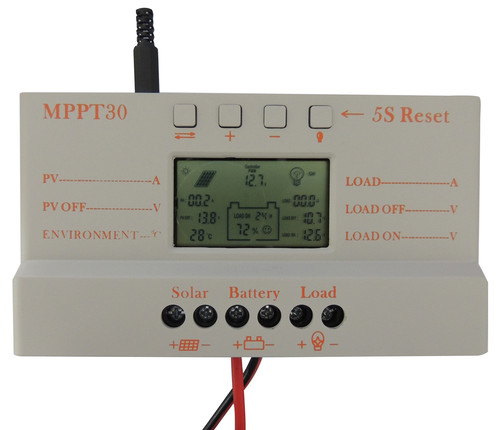
Solar charge controller
I found out there are 2 types of solar controller; normal PWM (pulse wave modulation- pulses of varying duration) and MPPT (maximum power point tracking – efficiently down-converts a higher DC voltage from the panels to the lower voltage used to charge the batteries)
Without much further research, I went straight onto Ebay and bought an MPPT controller for £42.
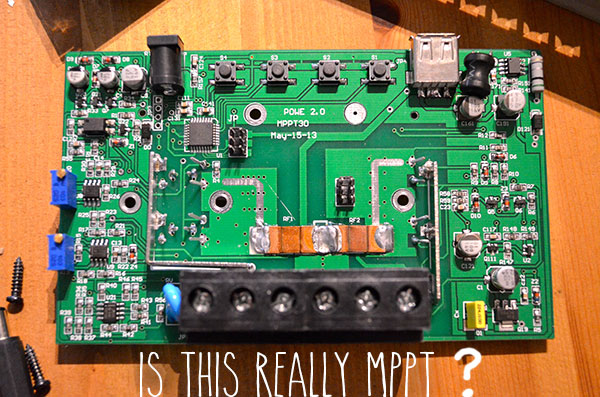
I asked for a part refund and just forgot about the chances of getting super efficient MPPT charging for now. This unit does have some nice features such as load shut-off setting so the batteries will not discharge less than, say, 11.8V and also overload protection.
Lessons learnt
This post deserves to end with a ‘lesson learned’ :
- Cheap Ebay stuff from China really is hit and miss
Just cannot resist.
In hindsight, I would buy this MPPT solar charge controller instead of this half arsed MPPT30.