

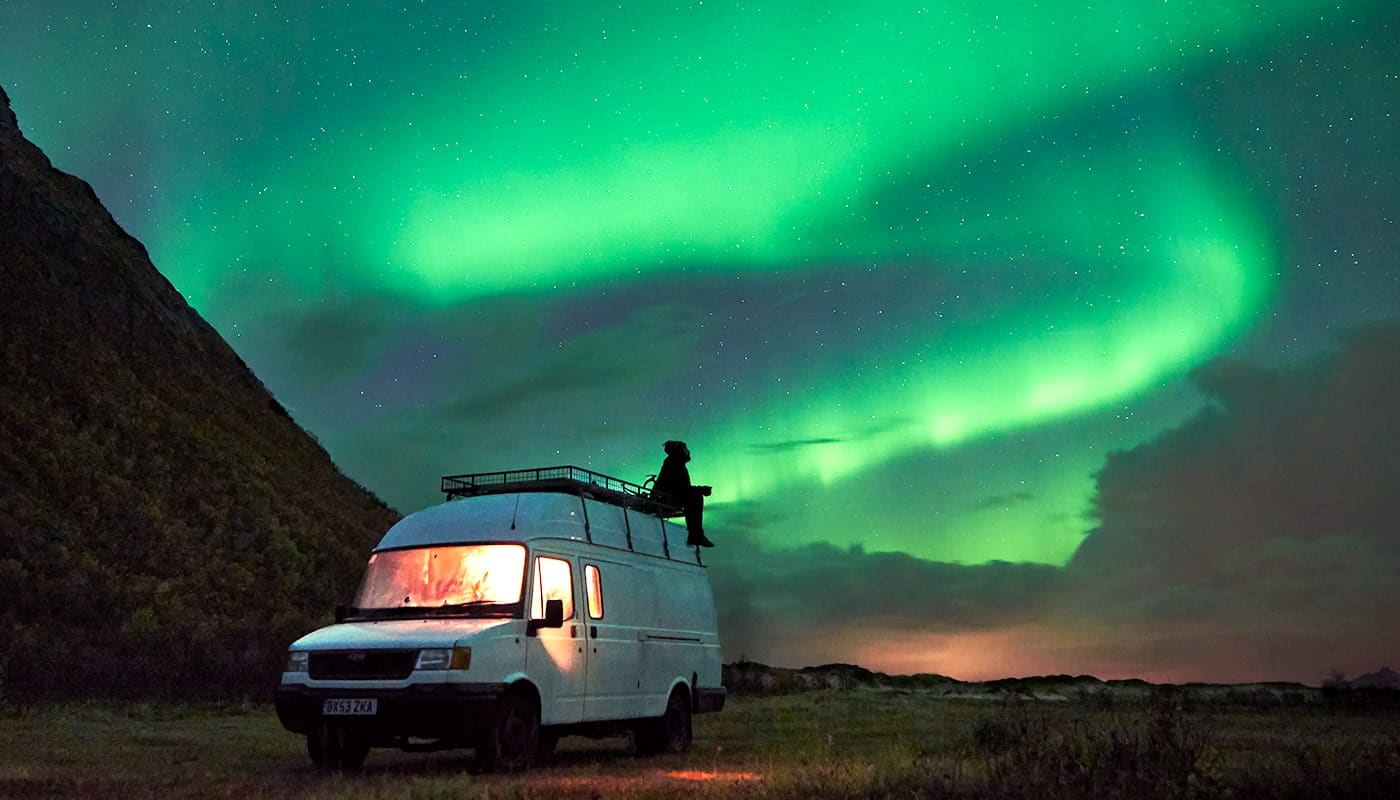
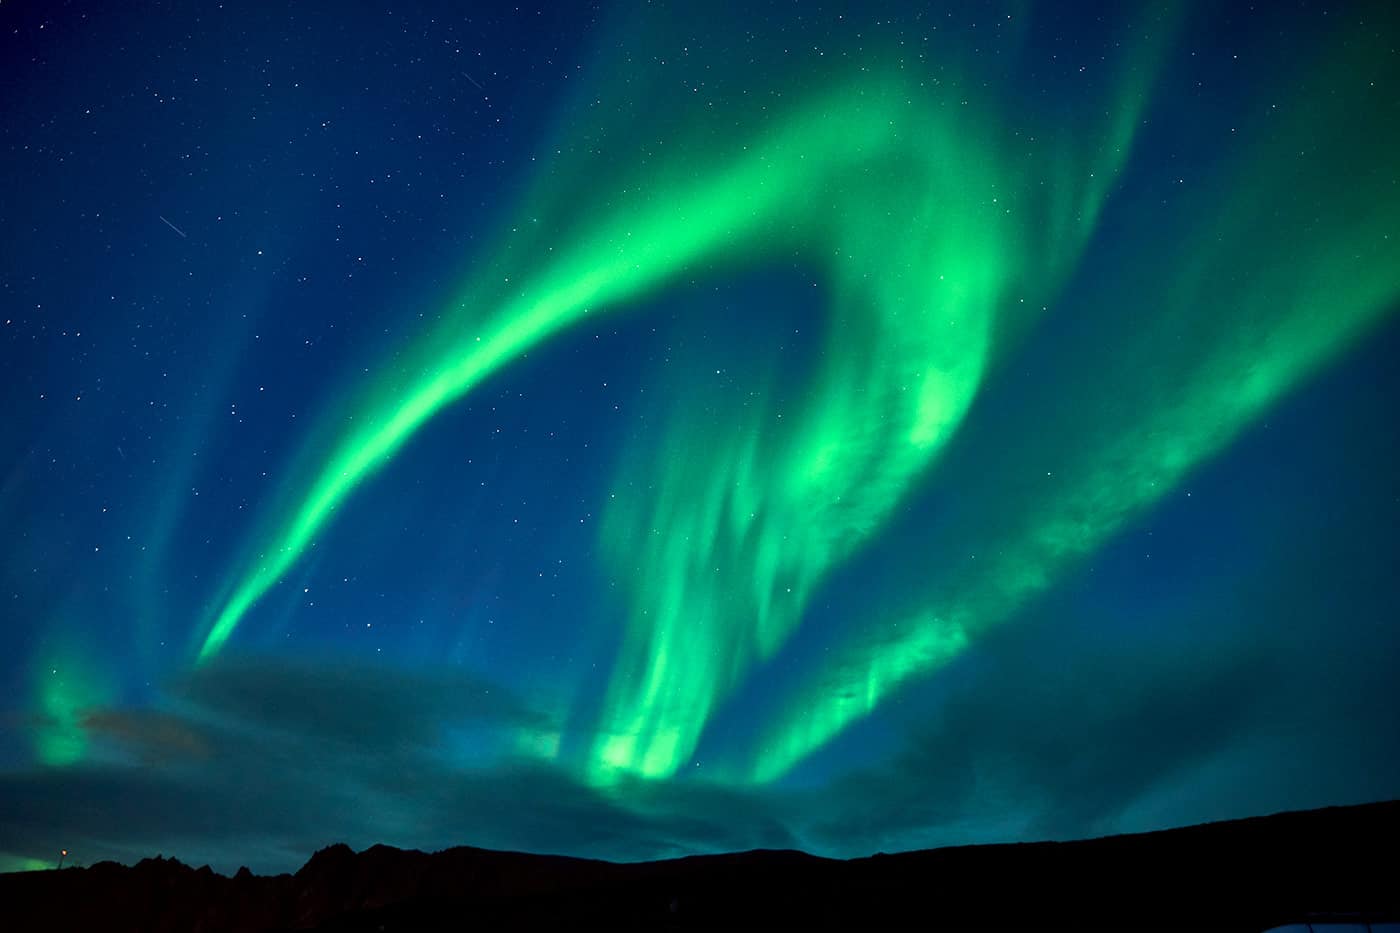
I was stood in the freezing cold darkness of one of Lofoten’s Arctic beaches trying to photograph the Aurora for the first time.
But how do you even photograph the Aurora? I didn’t know. It took some trial and error, and a week chasing the Aurora in the van, until I got some photos I was fairly happy with.
So in this post I’ll share with you what I learnt, in the 16 tips below. If you want to photograph the Aurora I hope this will help you.
Also see: 20 essential tips if you want to see the Northern Lights
1. Have everything ready to go
The Aurora can come and go very quickly – there’s no time to be charging batteries or looking for the tripod mount – so make sure you have everything ready to go in a bag. Clear your SD cards and charge your batteries… and read the rest of this post :-)
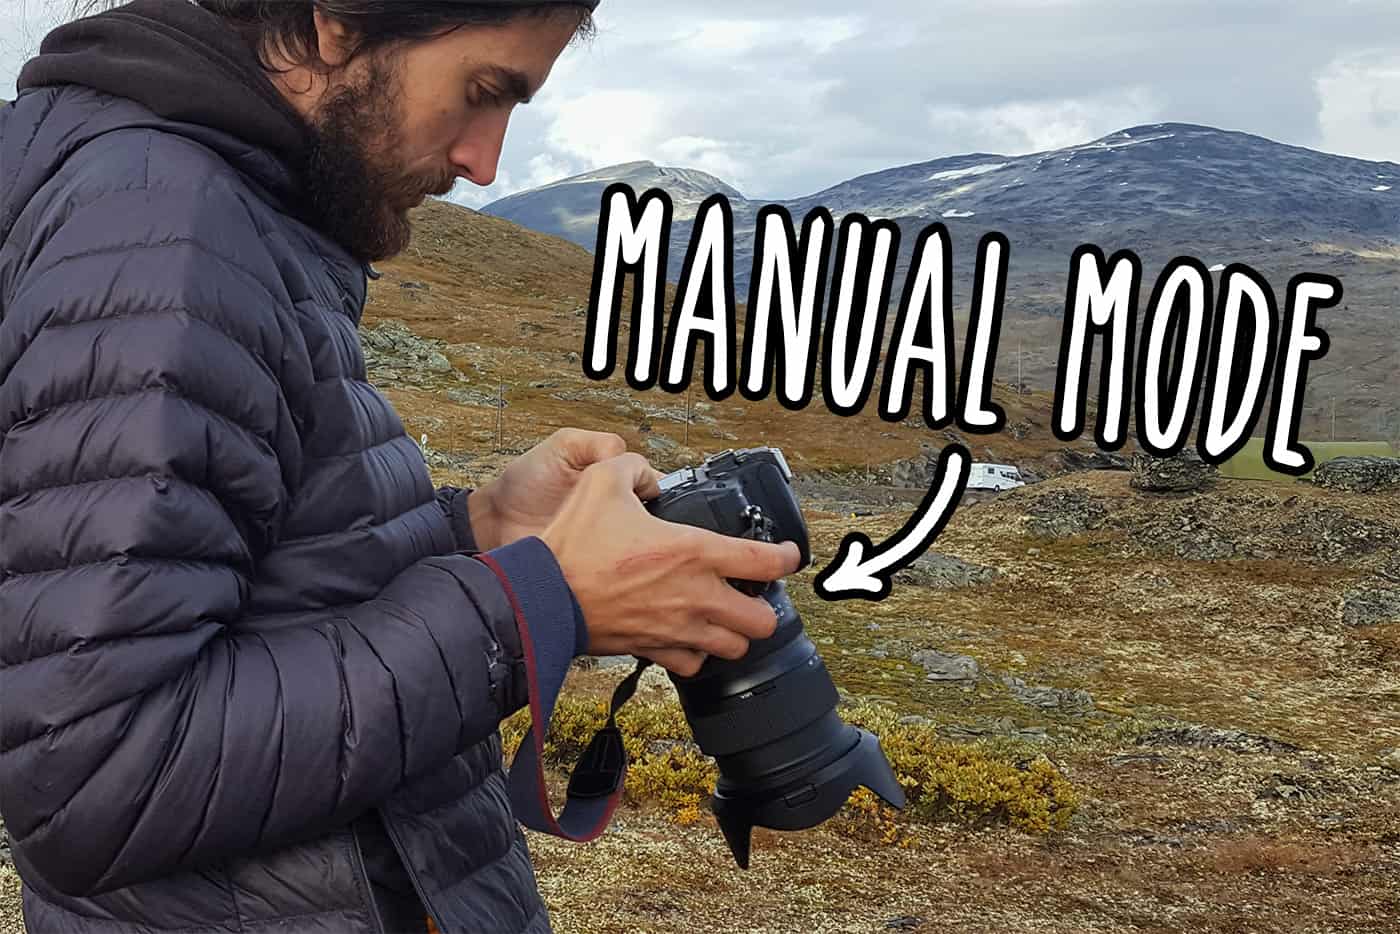
2. Any camera that lets you shoot in manual mode will work
It doesn’t have to be a big DSLR, even something like the Canon Powershot S95 will work fine – that’s my old camera. But for Norway I used a Nikon D750.
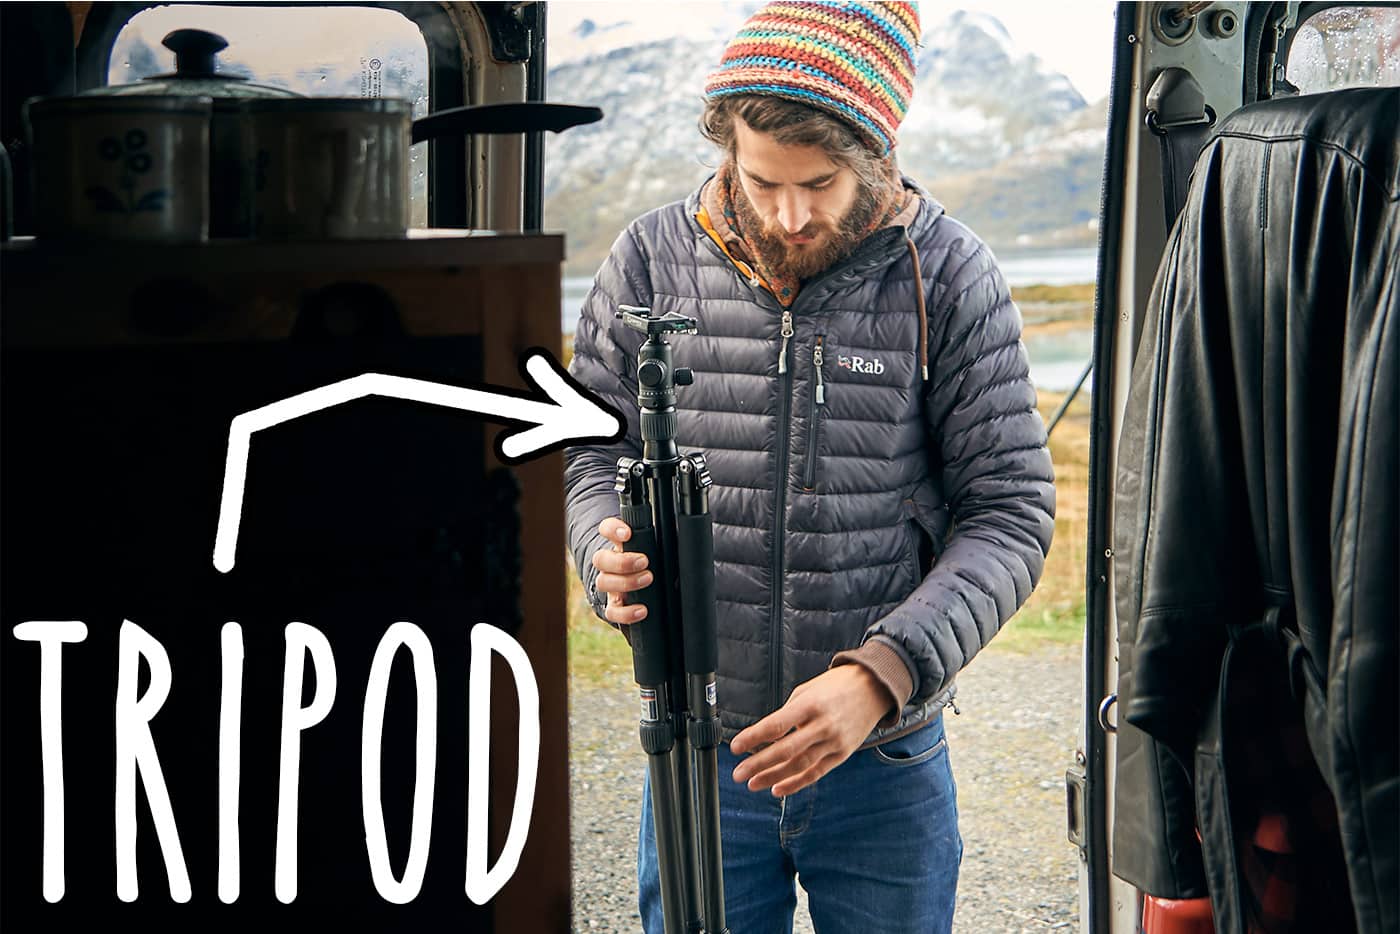
3. Any tripod will do
As long as it stays absolutely still. Even a Gorillapod will work fine and is what I use most of the time. But for most of the Aurora, especially when on the sandy beach, I used my normal tripod since it’s a little more stable and versatile.
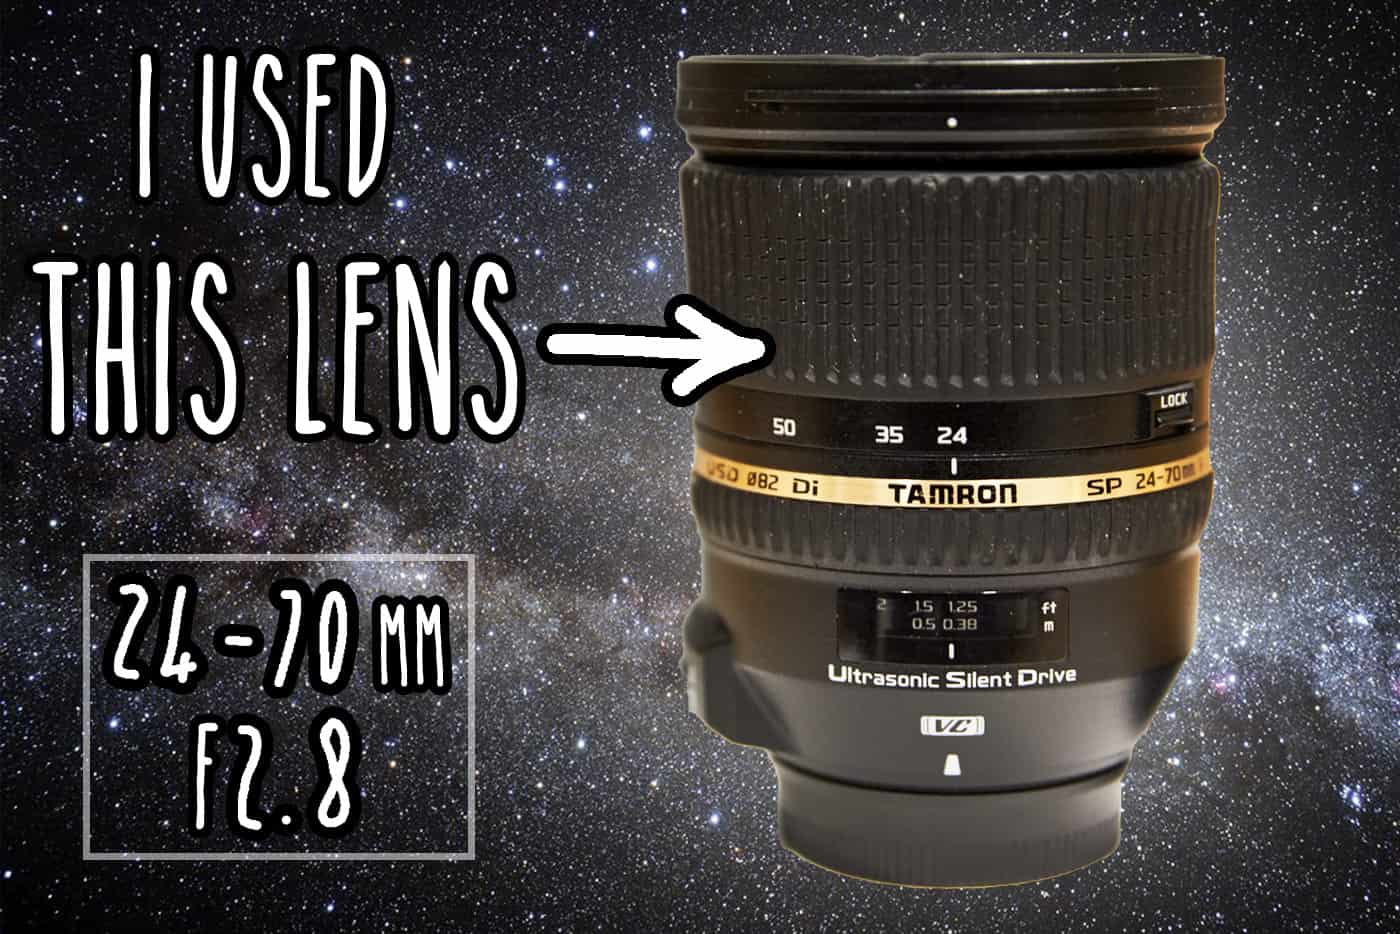
4. Use a wide Lens with a large aperture
A lens with a wide focal length will work best to capture a large area of the sky as well as a bit of land. I used my all-rounder zoom lens (Tamron 24 – 70mm) set at 24mm. The lens should also have a large aperture – preferably larger than f2.8 – allowing you to let more light in over a shorter time.
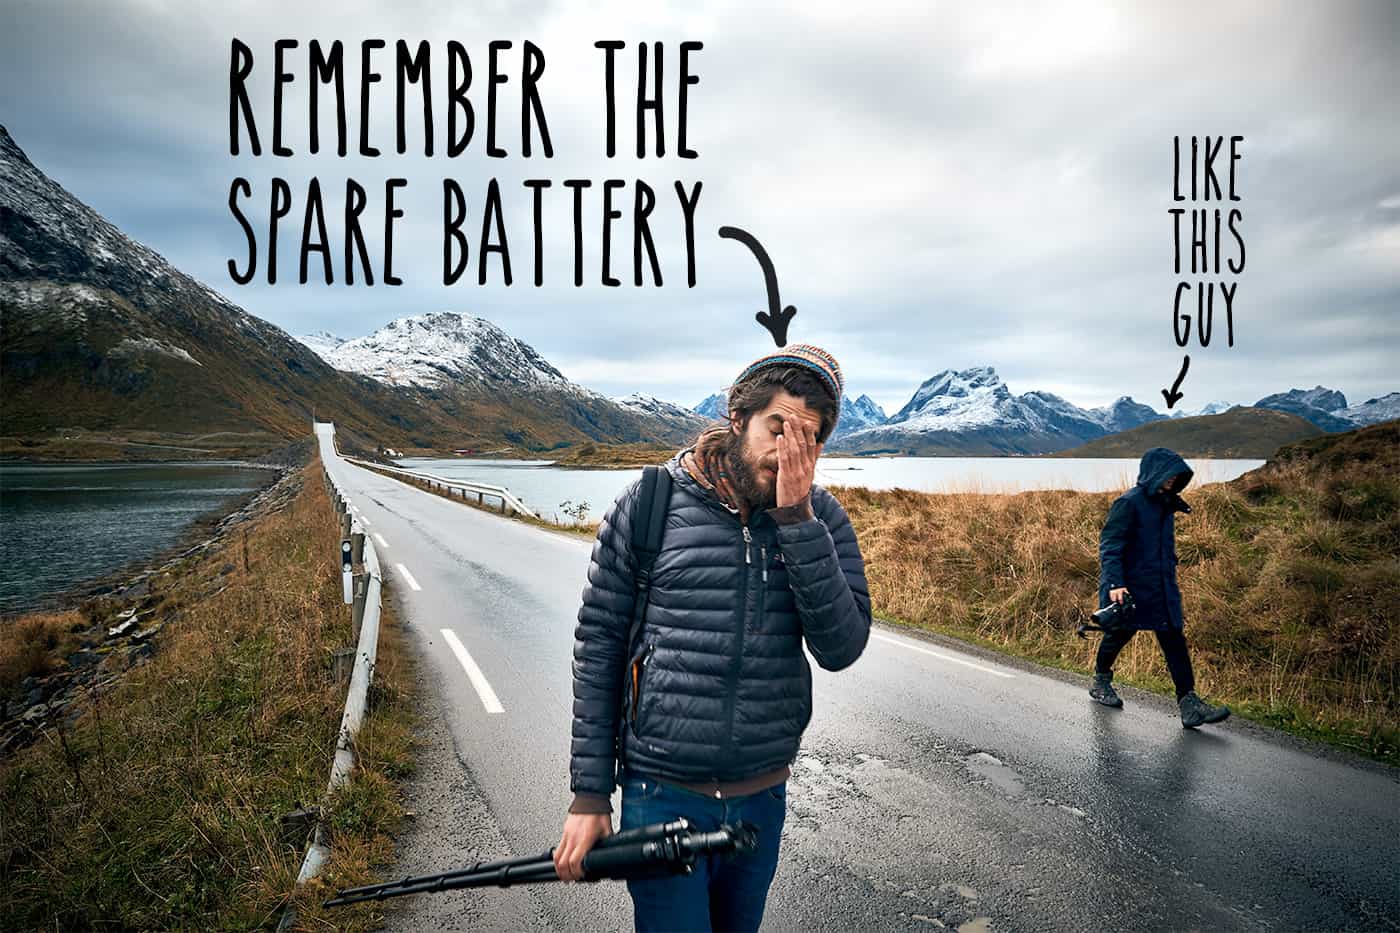
5. Have at least one spare battery
Shooting in the dark means you have to use the camera’s Live View a lot, which takes up way more battery power than normal. Also, battery performance decreases dramatically in these cold conditions. So bring at least one spare battery.
I had to keep one battery warm in my pocket, swapping it with the camera battery every now and then, otherwise it would get too cold and the camera would shut down.
6. Gloves
It didn’t take long before my hands were so cold I couldn’t feel the buttons on the camera. I needed gloves. Bring gloves. Even fingerless gloves are better than nothing. Even a pair of socks on your hands is better than nothing, but I didn’t think of that at the time.

7. Start with these camera settings
With any thing like this there are no magic settings, but I found this to be a good starting point:
- ISO: 3200 – some photos I pushed this up to 6400 depending on the exposure
- Shutter speed: 8 seconds – I varied this from 4 to 10 seconds depending on the capture
- Aperture: f2.8 – I didn’t change this
- Focal length:24mm – I didn’t change this
The long the shutter speed the more motion you will capture in the Aurora – i.e. the more blur it will cause if the Aurora is moving fast. If you want to capture the aurora in more definition, with the fine detailed tendrils, then you might want to use a lower shutter speed, and a higher ISO to compensate for exposure.
The key is to experiment with exposure to see what works for you in the shooting conditions you’re in.
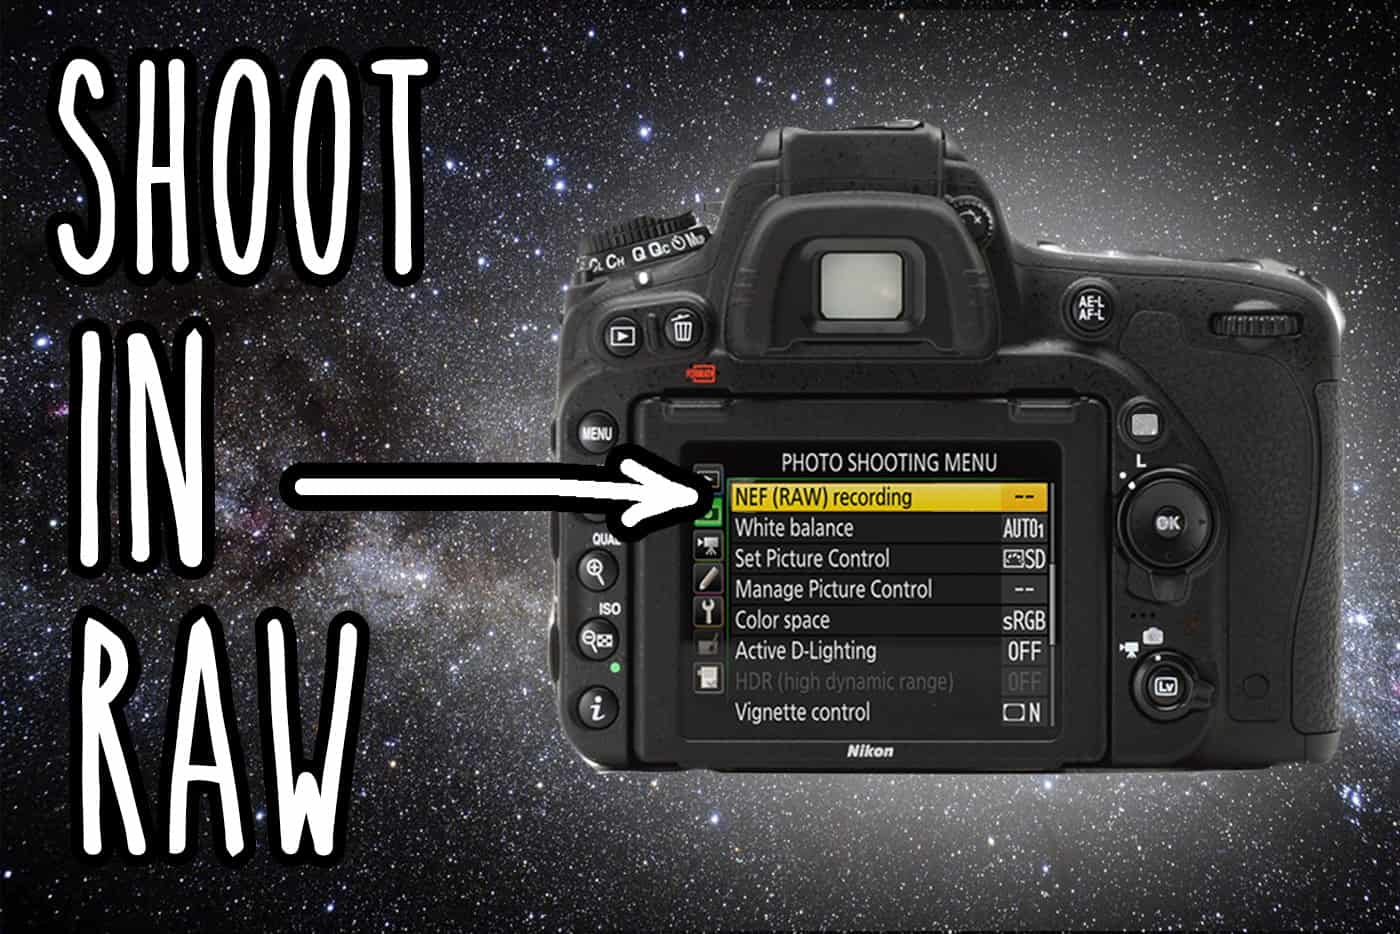
8. Shoot in RAW
RAW is the unmodified information as read by your camera sensor. It captures way more dynamic range and gives you a lot more flexibility to when it comes to making adjustments on the computer. If your camera has the ability to shoot in RAW, and most now do, I highly recommend it.
9. Use manual focus
Most camera’s are unable to autofocus accurately into the night sky, and manual focusing using the viewfinder is very tricky. So to focus I used the manual focus with the camera in Live View mode. I zoomed in (using the camera’s LCD display) as much as possible on the brightest star and turned focus ring until the star was as small and sharp as possible.
Once this is in perfect focus you can leave it alone for the rest of the night and try not to knock it. You can even use a bit of tape on the lens ring so it doesn’t get accidentally turned, if you like.
10. Framing the image can be difficult
When everything is pitch black it’s very difficult to frame the shot. I found two techniques to help with this
- Use a torch to momentarily illuminate any foreground so you can see the composition on the back of the camera. OR…
- Use a super high ISO to let you take a quick snap to review. Adjust composition as necessary and shoot again. This can take a bit of trial and error. This is the best method if you want some distant mountains in the composition – or anything the torch cannot reach
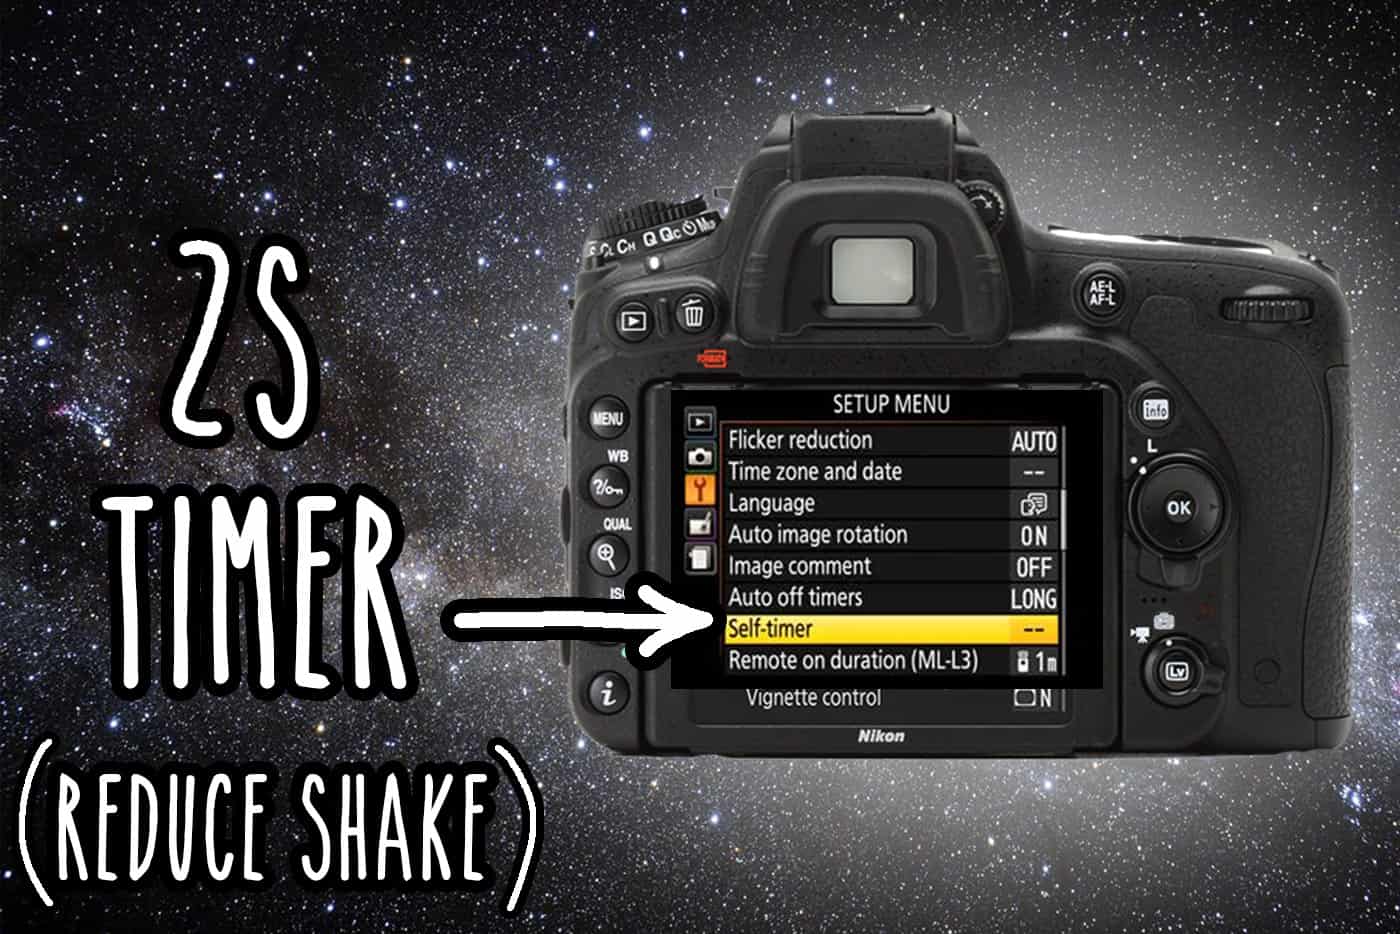
11. Use a remote or the camera’s in-built self-timer
The camera needs to be perfectly still when taking long exposures. Just by pressing the shutter button you will move the camera enough to blur the image. To get around that I put my camera in the 2 second self-timer mode so it gives the camera and tripod 2 seconds to settle.
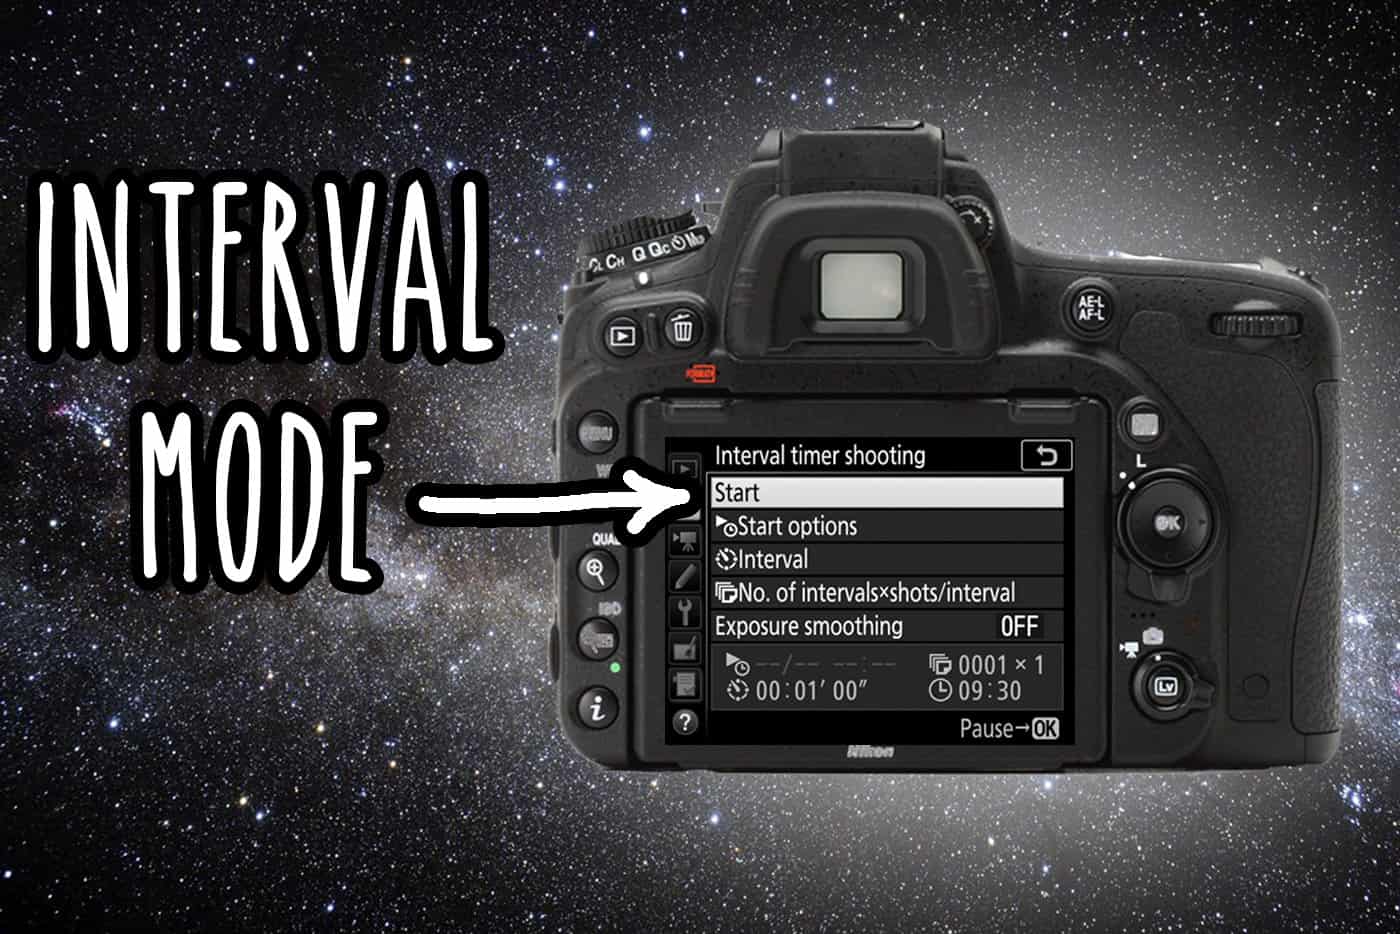
12. Use Intervalometer mode to continuously take photos
I set my camera to take shots every 10 seconds to capture the Aurora when it was at its most active. When I got back to the van I simply chose the photo with my favourite Aurora
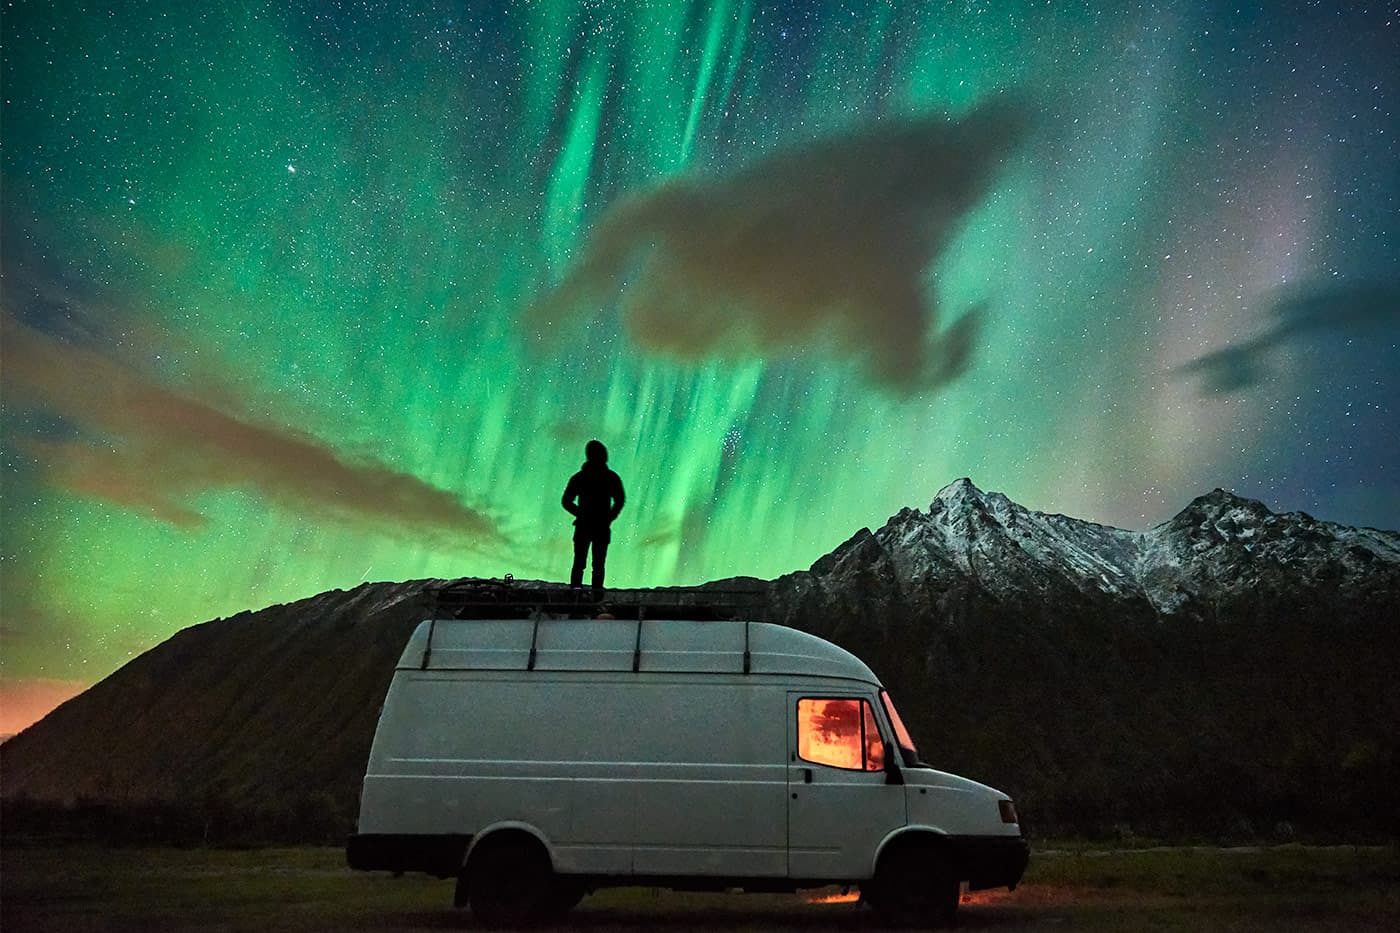
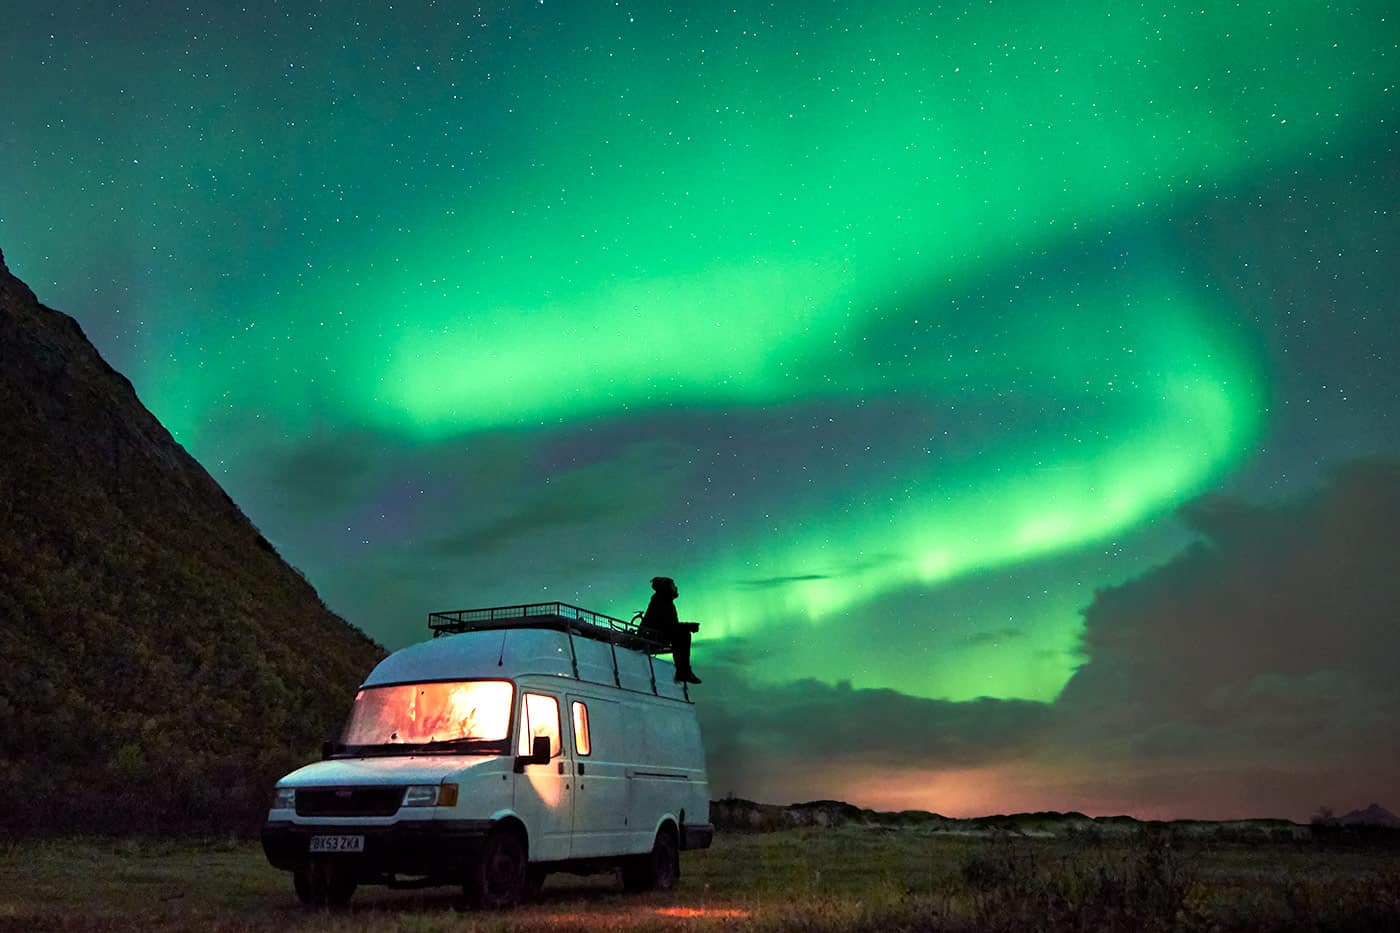
This is also helpful if you want to get in the shot yourself. Just leave the camera infinitely taking photos whilst you experiment with different positions. It’s way faster than doing just one self-timer and going back to check the camera every time. This leads to the next point…
13. Take a lot of photos
The quickest way to get better photos is to take more of them. Even when you think you’ve got the perfect shot, keep going! The Aurora changes constantly and no shot is exactly the same.
14. Be aware of other photographers
One night it was so dark that I didn’t realise I was stood right in front another person who was also out on the beach photographing the Aurora. It’s often very difficult to see whether you’re in someone else’s shot but it’s something to be aware of. You can always have a quick scan around with the torch.
15. Make as little light pollution as possible
This means using the torch only when absolutely necessary. If you have a red light (a red bike light would be fine) this is a better way of seeing in the dark without disturbing others too much – and your own eyes.
16. Process in Lightroom or equivalent
The whole point of shooting in RAW mode is that you can process the photo later on the computer (rather than let the camera do it). Knowing just a few basic adjustments in a RAW editor such as Lightroom will allow more room for errors (like incorrect exposure for example) when out shooting, giving you more creative control over your photos.
How to process the photos would be a whole new post and tutorial, but if that’s something you want then let me know in the comments.
Gear I used
Camera: https://amzn.to/2Y6LUQu
Lens: https://amzn.to/2Y4L2Mj
Big tripod: https://amzn.to/2Y4VLX2
Small tripod for backpack: https://amzn.to/2THbYDf
Pin this post to save it for later
Photographing the Aurora is incredibly fun and exciting and I could have done it for many more weeks. It’s a completely different kind of challenge with the camera and I feel like as I progress with photography I’d like to come back to the Lofoten Islands again and again.
Got any tips to add to this?
If you have anything to add to this, let us know in the comments below.
Also see these Aurora related posts:
20 essential tips if you want to see the Aurora
Lofoten by campervan: watching the Northern Lights on Haukland Beach